
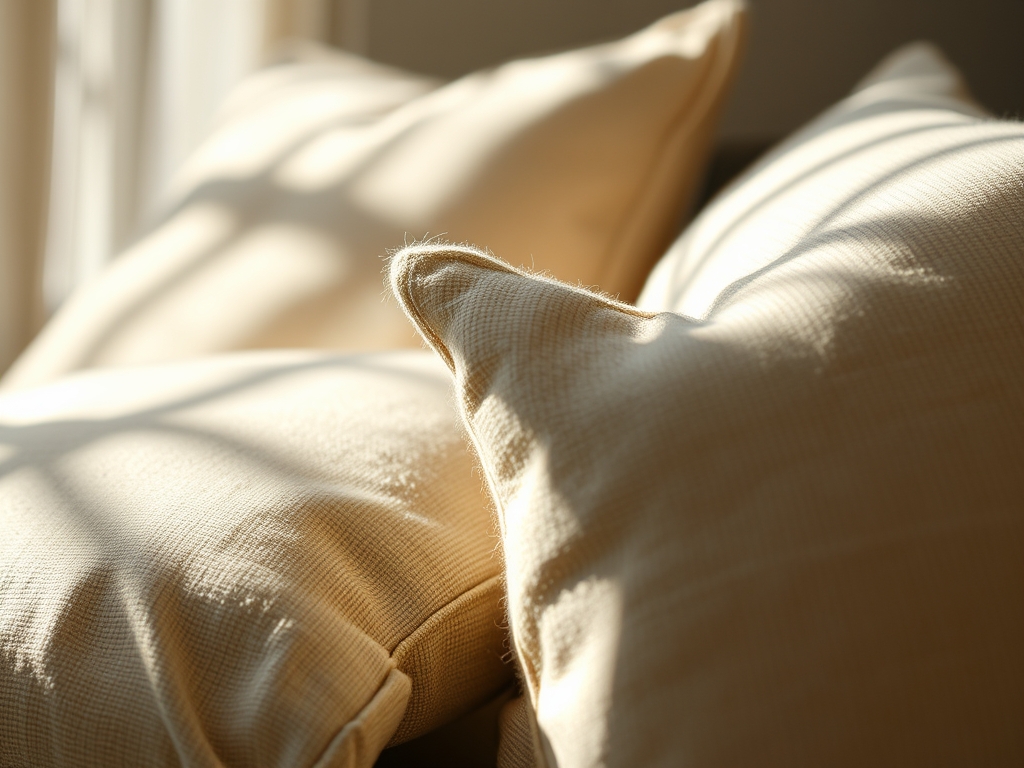
Close your eyes and imagine the friction of raw flax against your fingertips. It is a dry, earthy sensation that speaks of ancient fields and high tensile strength. When we talk about Handmade Linen Pillows, we are not just discussing bedding; we are manipulating a cellulose fiber that is thirty percent stronger than cotton. The tactile nature of linen is its greatest asset. It possesses a unique porous structure that allows for incredible breathability, making it the ultimate thermal regulator for your bedroom. As you run your hand over the fabric, you can feel the slight irregularities in the weave, known as slubs. These are not flaws. They are the fingerprints of the plant itself. We are going to take this rugged, sophisticated material and transform it into six soft designs that balance structural integrity with an ethereal aesthetic. Grab your coffee and clear your workbench. We are diving into the physics of comfort, where every stitch is a calculation of tension and every seam is a testament to durability.
THE STUDIO KIT
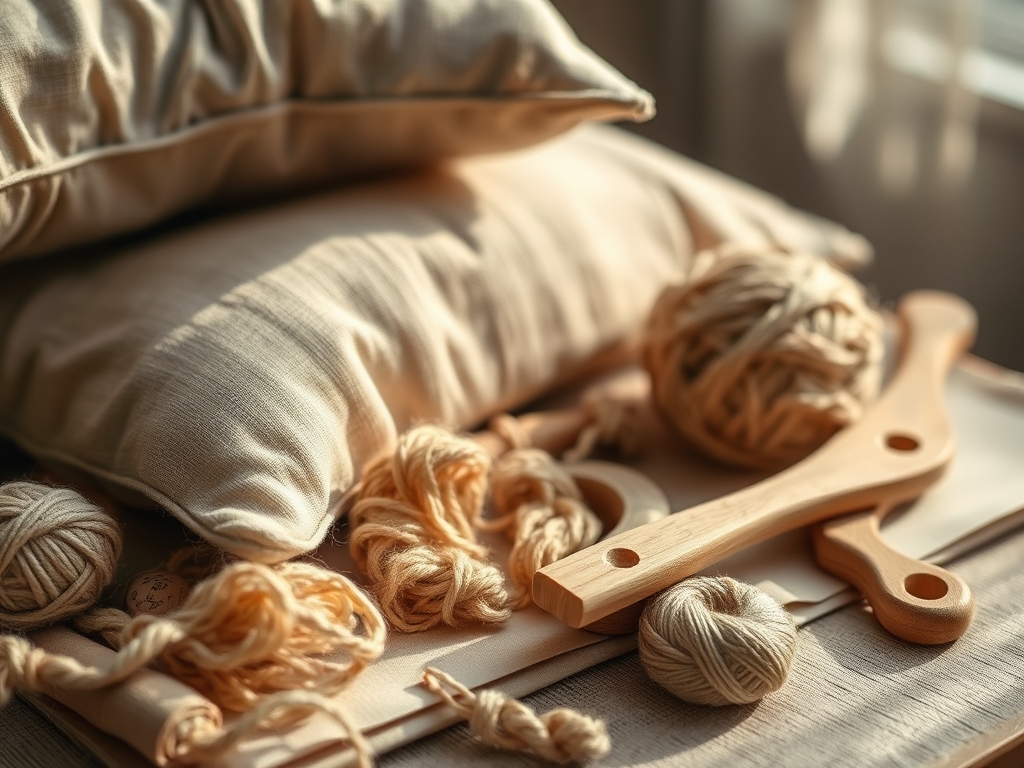
To execute these designs, you need more than just a standard sewing kit; you need precision instruments. Start with a rotary cutter and a self-healing mat. Because linen fibers are prone to shifting, a traditional pair of shears can cause microscopic distortions in the grain line. A sharp blade ensures a clean, perpendicular cut through the warp and weft. You will also need a bone folder to crisp your seams. Linen has "memory," meaning it holds a fold exceptionally well due to its pectin content. For marking, skip the chalk and use a fine-point disappearing ink pen to maintain a narrow seam allowance.
Your thread choice is critical. Use a high-quality long-staple polyester or a silk-finish cotton. The ply of the thread must match the weight of your linen to prevent puckering. If you are working with heavyweight upholstery linen, reach for a size 90/14 needle. For lighter, handkerchief linens, a 70/10 needle will prevent large perforations. If you cannot find pure flax, a hemp blend is a fantastic material substitution. Hemp offers similar tensile strength and antimicrobial properties, though it requires a slightly longer break-in period to achieve that signature softness.
THE TEMPO
The maker's rhythm is a three-act play: preparation, construction, and finishing. Do not rush the "resting" phase. Linen is a living material that reacts to humidity and temperature. Once you wash and dry your yardage, let it sit flat for at least four hours to allow the fibers to settle into their natural gauge.
Expect to spend sixty minutes on the "Draft and Cut" phase. This is where you calculate your dimensions, adding exactly one inch for seam allowances and closures. The "Assembly" phase for each pillow takes approximately ninety minutes. This includes the technical work of pinning, sewing, and overlocking raw edges to prevent the linen from unraveling. Finally, the "Curation" phase takes thirty minutes. This involves the final steam press and stuffing. When you find your flow, the sound of the machine becomes a steady hum, a rhythmic pulse that aligns with the repetitive motion of the needle.
THE CORE METHOD
1. The Classic Envelope Closure
This design relies on a generous overlap of fabric to maintain the pillow's shape without the need for hardware. Measure your pillow insert and add two inches to the width. For the length, double the measurement and add six inches for the overlap.
Mastery Tip: Understand structural integrity. By creating a deep three-inch overlap, you use the fabric's own surface friction to keep the insert hidden. This eliminates the "gaping" common in low-quality covers.
2. The Tailored Flange Border
A flange adds a sophisticated, architectural frame to your pillow. You will sew a secondary perimeter exactly two inches from the outer edge. This creates a flat "wing" of fabric that stands out from the central cushion.
Mastery Tip: Use a walking foot attachment. Linen layers can slide against each other during the long straight runs of a flange. The walking foot feeds the top and bottom layers at the same rate, preventing "creeping" and ensuring a perfectly square frame.
3. The Exposed Brass Zipper
For an industrial-chic look, we integrate a heavy-duty metal zipper. This requires a precise "window" cut into the back panel of the linen. The contrast between the soft flax and the rigid metal is visually striking.
Mastery Tip: Apply a small strip of fusible interfacing to the area where the zipper will be installed. This stabilizes the linen's loose weave, preventing the metal teeth from snagging or distorting the fabric over time.
4. The Raw Edge Fringe
This design celebrates the deconstructed nature of linen. Instead of hemming the edges, you will intentionally fray them to create a soft, feathered border. You must sew a "stay-stitch" one inch from the edge to stop the fraying process.
Mastery Tip: This is a lesson in capillary action and fiber release. Use an awl to gently pull individual weft threads away from the warp. The stay-stitch acts as a mechanical barrier, ensuring the fringe remains decorative rather than destructive.
5. The Pintuck Texture
Pintucks are tiny, folded ridges sewn into the face of the fabric. They add a geometric, three-dimensional quality to the linen. Space them exactly one inch apart for a clean, rhythmic pattern.
Mastery Tip: Consistency is key to visual balance. Use a t-square to mark your tuck lines. Because linen is a plain-weave fabric, following a single thread (pulling a thread to create a path) ensures your pintucks are perfectly "on grain."
6. The Hand-Embroidered Running Stitch
Using a thick sashiko thread, create long, rhythmic stitches across the surface. This adds a "slow-stitch" artisanal feel that complements the organic texture of the flax.
Mastery Tip: Focus on ergonomic tension. Do not pull the embroidery thread too tight, or the linen will bunch. The goal is for the thread to sit flush against the fabric, allowing the linen to retain its natural drape and flexibility.
THE TECHNICAL LEDGER
Maintenance & Longevity: Linen is incredibly durable but hates harsh chemicals. Always wash your covers in cool water with a pH-neutral detergent. To maintain the tactile softness, tumble dry on low and remove while slightly damp. This prevents the fibers from becoming brittle.
Material Variations: For a sustainable approach, look for Oeko-Tex certified linen, which ensures no harmful substances were used in the processing. If you want a luxury feel, Belgian linen offers a higher thread count and a smoother hand. For a rustic vibe, seek out "heavyweight" or "slubby" linen with a visible grain.
The Correction:
- Puckered Seams: This usually happens because the tension is too high. Loosen your machine's upper tension dial by one notch.
- Wavy Hems: This occurs when the fabric is stretched while sewing. Avoid pulling the linen; let the feed dogs do the work.
- Fraying Internal Seams: Linen sheds. Use a serger or a zigzag stitch on every internal raw edge to lock the fibers in place.
Studio Organization: Store your linen flat in a cool, dark space. Avoid plastic bins, which can trap moisture and lead to mildew. Use acid-free tissue paper between dark and light colors to prevent dye migration.
THE FINAL REVEAL
There is nothing quite like the moment you slide a high-loft down insert into a freshly sewn linen cover. The fabric yields to the pressure, then slowly expands, showcasing the beautiful, matte finish of the flax. These six designs offer a spectrum of styles, from the crisp lines of the flange to the bohemian softness of the fringe. Your bedroom is no longer just a place to sleep; it is a gallery of your technical skill. The way the light catches the slubs in the fabric and the way the material cools against your skin is a daily reminder of the physics of good design. You have mastered the grain, the tension, and the weave.
STUDIO QUESTIONS
How do I prevent linen from shrinking after the project is finished?
Always pre-wash your fabric in the same temperature you plan to use for the finished pillow. This forces the cellulose fibers to contract before you cut your pattern pieces, ensuring a perfect fit forever.
What is the best way to get sharp corners on linen pillows?
Trim the excess fabric at the corner diagonally, being careful not to snip the stitches. Use a bone folder or a blunt turner to gently push the corner out from the inside for a crisp, professional 90-degree angle.
Can I mix different weights of linen in one pillow?
Yes, but be mindful of structural integrity. If using a lightweight linen for the front and a heavy one for the back, use a universal needle and stabilize the lighter fabric with a thin interfacing to prevent tearing.
Why does my linen look "shiny" after ironing?
This is called "scorching" or "shining." It happens when the heat flattens the fibers too much. To avoid this, always iron linen on the reverse side or use a pressing cloth to protect the tactile surface.

