
Imagine the scent of raw wool meeting the cool, clinical precision of surgical steel needles. Your fingertips graze the scales of the fiber; it is a microscopic landscape of protein ridges waiting for tension. To truly master your craft, you must commit to Daily Knitting Drills that transform muscle memory into a high-performance mechanical reflex.
The physics of a stitch is a study in tensile strength and structural equilibrium. When you pull a loop through a loop, you are essentially creating a series of interlocking slipknots that distribute weight across a grid. If your tension is uneven, the kinetic energy of the garment fails, leading to sagging or "pooling" of the fabric. We are not just making sweaters; we are engineering soft-shell armor. By practicing these drills every morning, you synchronize your heartbeat with the ply of your yarn. You learn to feel the difference between a 19-micron merino and a coarse 30-micron Highland wool before the yarn even touches your palm. It is about the friction, the drag, and the glorious release of the loop.
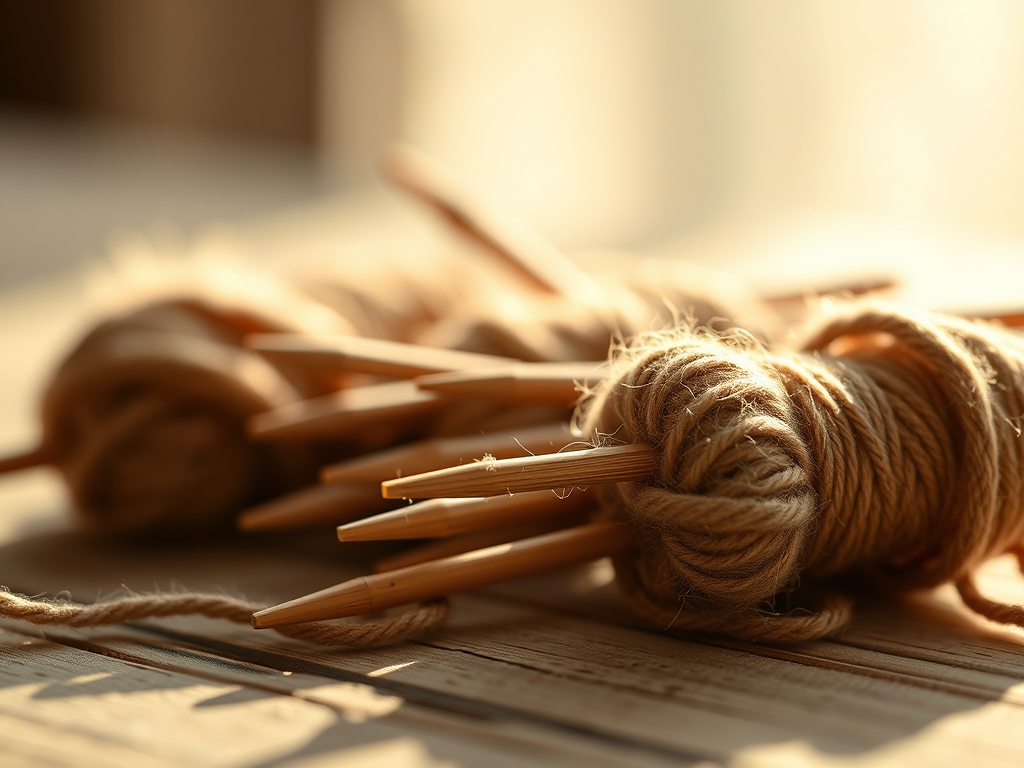
THE STUDIO KIT
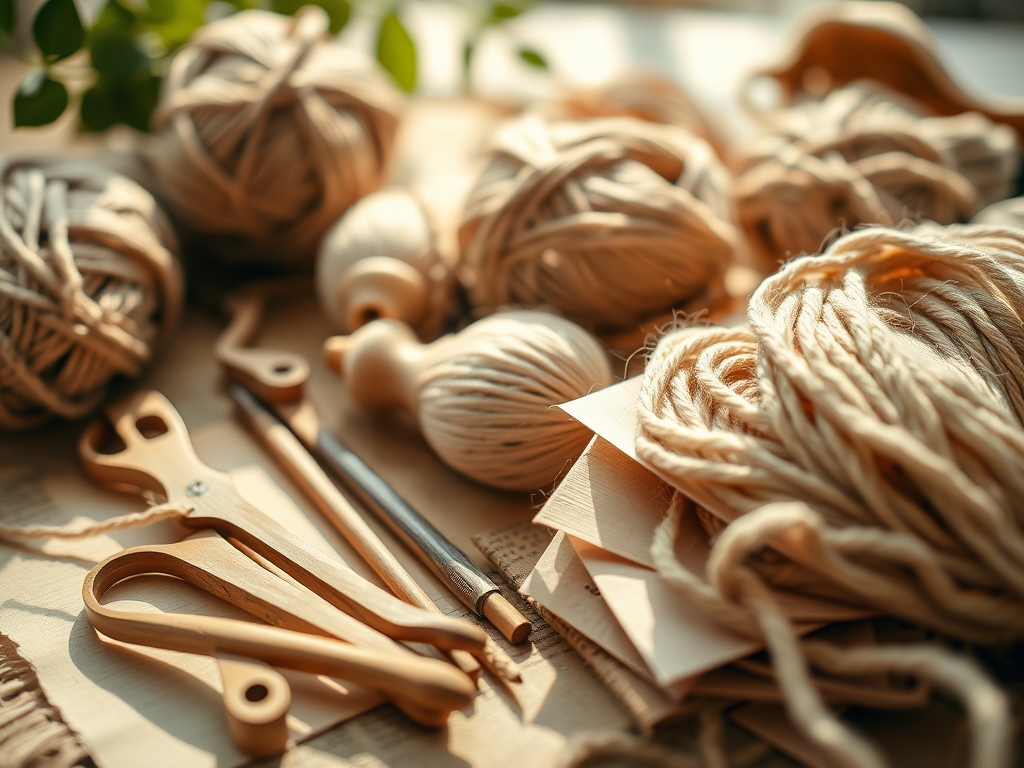
Your workspace is a laboratory. To execute these drills, you need tools that respect the laws of physics. Start with a set of stainless steel circular needles; the low-friction surface allows for a faster "glide" compared to bamboo. Keep a pair of digital calipers nearby to measure your gauge with sub-millimeter accuracy. You will also need a rotary cutter for trimming stray fibers and a bone folder to crisp up your swatching notes.
For the material, choose a high-twist, four-ply worsted wool. The high twist increases the torsional rigidity of the yarn, making your stitch definition pop like a 3D render. If you need a Material Substitution, opt for a pima cotton blend for high-definition stitch work, though be warned: cotton lacks the elastic recovery of wool, meaning your hands will tire faster due to the lack of "bounce." Always keep a small vial of lanolin or high-grade beeswax to burnish your wooden tools, ensuring they remain non-porous and slick.
THE TEMPO
The "Maker's Rhythm" is a flow state where your brain waves synchronize with the repetitive motion of the needles. For these drills, we operate on a 45-minute cycle. The first 10 minutes are the thermal warm-up, where you perform simple garter stitches to increase blood flow to your phalanges and soften the lanolin in the wool.
The middle 25 minutes are the high-density focus phase. This is where you tackle the complex maneuvers, maintaining a steady cadence of 30 to 40 stitches per minute. The final 10 minutes are the cool-down and documentation phase. You must measure your work, check for torque in the fabric, and record your tension levels. This rhythmic structure prevents repetitive strain injury and ensures that your technical growth is measurable and consistent.
THE CORE METHOD
1. The Twisted Lattice Slip
This drill focuses on the lateral displacement of stitches without a cable needle. You are essentially forcing the yarn to travel across the face of the fabric at a 45-degree angle. By crossing two stitches, you create a structural rib that reinforces the fabric against stretching.
Mastery Tip: Observe the surface tension. If you pull too tight, you compress the air pockets between the fibers, destroying the insulation properties of the wool.
2. The High-Definition Brioche
Brioche is the king of volumetric density. By working with "yarn overs" that are knitted together on the subsequent row, you create a double-layered fabric that traps air. It is a lesson in capillary action; the more surface area the yarn has, the more moisture it can wick away from the body.
Mastery Tip: Use a tapestry needle to track your "life lines" every five rows to prevent catastrophic structural failure if a stitch drops.
3. The Offset Honeycomb Cable
Cabling is an exercise in load-bearing architecture. By moving groups of stitches, you create "beams" that support the weight of the garment. The honeycomb pattern is particularly effective at preventing the fabric from curling at the edges.
Mastery Tip: Use your calipers to check the width of the cable. A consistent width indicates that your ply twist is not being distorted during the crossing maneuver.
4. The Suspended Eyelet Increase
Most increases leave a hole, but the suspended eyelet uses the torsional energy of the row below to fill the gap. It is a "stealth" increase that maintains the structural integrity of the textile while expanding its surface area.
Mastery Tip: This maneuver relies on the elasticity of the fiber. If using a non-elastic fiber like linen, you must manually loosen the "mother" stitch to avoid snapping the thread.
5. The Double-Wrapped Elongated Stitch
This drill introduces intentional "slop" into the system to create a lace-like effect. By wrapping the yarn twice around the needle, you increase the linear length of the stitch. When dropped on the next row, it creates a vertical window.
Mastery Tip: Gravity is your enemy here. Ensure your ergonomic grip is loose; if you hold the needles too rigidly, the elongated loops will vary in height, ruining the visual symmetry.
6. The Nested Nuage (Nupp)
A Nupp is a localized "explosion" of stitches, creating a 3D bobble. It tests your ability to manage bulk density within a single coordinate on the grid. It requires precise needle tip control to purl five or seven stitches together.
Mastery Tip: The "exit" move is critical. You must burnish the stitch with the tip of your needle to ensure the loops are seated flush against the fabric base.
7. The Bias-Shift Decrease
Decreasing on a bias changes the grain direction of the knit. This is essential for shaping shoulders or hats where the fabric must contour to a three-dimensional sphere.
Mastery Tip: Pay attention to the friction coefficient. If your needles are too blunt, you will split the yarn, compromising the tensile strength of the decrease point.
8. The Tubular Bind-Off
The final drill is the most technical. It creates a seamless, rounded edge that looks like a machine-finished hem. It involves "sewing" the stitches off the needle in a way that mimics the interlooping geometry of the knit itself.
Mastery Tip: Use a length of yarn three times the width of the project. This ensures you have enough material reserve to finish the edge without introducing a weak knot.
THE TECHNICAL LEDGER
Maintenance & Longevity: To keep your knitted samples in peak condition, never hang them. Gravity will cause permanent deformation of the stitch loops. Instead, store them flat in acid-free tissue paper.
Material Variations:
- Sustainable: Tencel (eucalyptus fiber) offers incredible drape but zero memory.
- Recycled: Recycled wool often has shorter staple lengths, meaning it may pill more easily.
- Premium: Qiviut (muskox) is eight times warmer than wool and has almost no shrinkage factor.
The Correction:
- The Row-Out: If your purls are looser than your knits, your tension is imbalanced. Fix this by using a needle one size smaller for the purl rows.
- The Split Ply: If you pierce the yarn, you create a structural weak point. Use a crochet hook to drop the stitch down and re-knit it correctly.
- The Twisted Stitch: If the "legs" of your stitch are crossed, you have changed the orientation on the needle. Always ensure the leading leg is at the front.
Studio Organization: Use a modular grid system to store your swatches. Label each one with the gauge, yarn batch, and date. Store your needles in a hard-shell case to prevent bending, which can introduce micro-scratches that snag delicate fibers.
THE FINAL REVEAL
There is nothing quite like the weight of a finished technical swatch in your hand. It feels substantial, a physical manifestation of your mental focus. When you stretch the fabric, you can see the interlocking geometry working in harmony. The edges are crisp, the tension is a rhythmic masterpiece, and the stitch definition is so sharp it looks architectural. By integrating these Daily Knitting Drills, you have moved past "hobbyist" and into the realm of a fiber technician. You are now ready to tackle any pattern, no matter how complex the physics.
STUDIO QUESTIONS
How do I stop my edges from curling?
Curling is caused by the unbalanced torque of stockinette stitch. To neutralize this, add a border of "balanced" stitches like garter or seed stitch, which have equal tension on both sides of the fabric.
What is the best yarn for beginners?
A light-colored, multi-ply worsted wool is ideal. The light color makes the "stitch anatomy" visible, while the multi-ply construction provides the tensile strength needed to withstand frequent unravelling and re-knitting during practice.
Why does my gauge change mid-project?
Gauge shifts are usually caused by changes in your physiological state. Stress or fatigue increases your grip strength, tightening the tension. Consistent Daily Knitting Drills help stabilize your muscle memory to prevent these fluctuations.
Can I use metal needles for all fibers?
Metal needles are best for "grabby" fibers like wool. For slippery fibers like silk or bamboo, use wooden needles. The increased friction of the wood provides better control over the flow rate of the stitches.
How often should I clean my needles?
Clean your needles every 20 hours of use. Skin oils and yarn residue create micro-friction, which slows down your pace. Wipe them with a soft cloth and a drop of rubbing alcohol to restore the factory "glide."

