
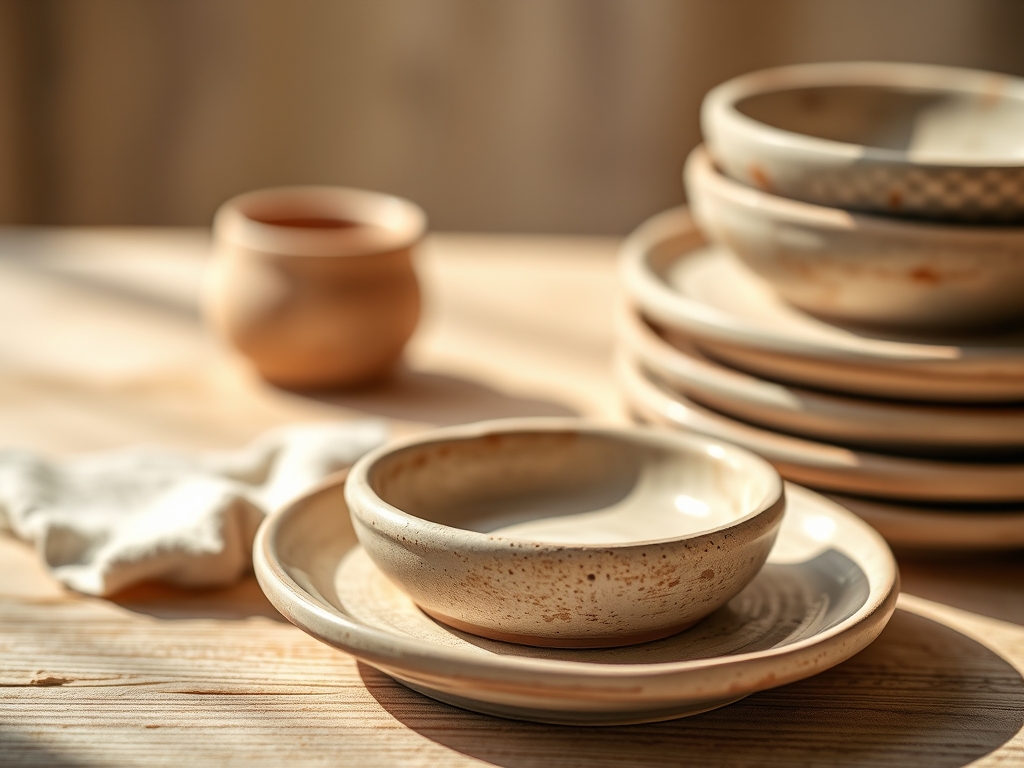
Wet clay feels like a secret between your palms; it is cold, heavy, and full of potential energy. When you are shaping Handmade Pottery Plates, you are not just making dishes; you are negotiating with the mineral memory of the earth. The tactile sensation of the slip sliding through your fingers is actually a lesson in fluid dynamics. You are managing the water content to ensure the clay remains plastic enough to move but stable enough to hold its own weight against gravity. We are aiming for that perfect leather-hard stage where the piece feels like cold chocolate. This is the moment when the molecular structure is still porous enough to accept a chemical bond but rigid enough to survive the high-velocity heat of the kiln. We are going to transform these raw, fragile discs into vitrified masterpieces that can survive a three-course meal and a rowdy toast. Grab your apron and tie your hair back; we are diving deep into the chemistry of the kiln to ensure your dinner party is legendary.
THE STUDIO KIT
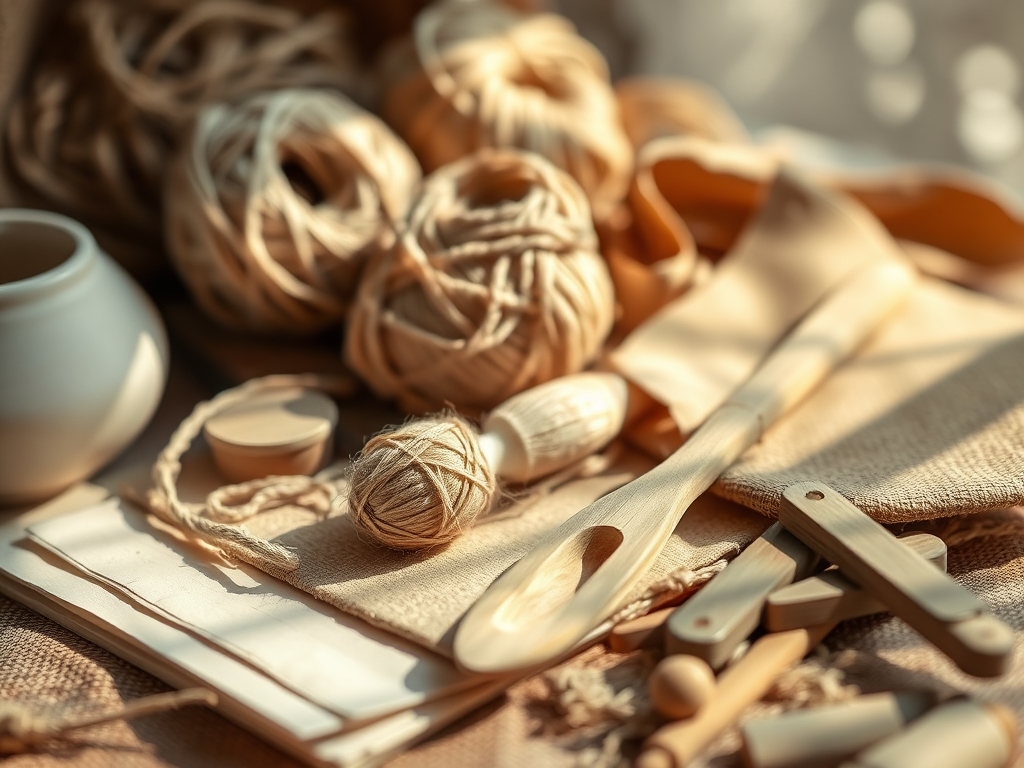
To master the art of the dinner plate, you need more than just a wheel. You need a precision kit that accounts for the shrinkage rate of your specific clay body. Start with a high-fire stoneware or porcelain; these have a higher alumina content, which provides the structural integrity needed to prevent warping during the firing process. You will need a metal rib for compressing the floor of the plate to prevent S-cracks, and a pair of calipers to ensure every plate in your set has a matching diameter. For the glazing phase, a hydrometer is non-negotiable. It measures the liquid density of your glaze, ensuring you do not apply a layer that is too thick, which leads to "crawling," or too thin, which looks washed out.
Material Substitutions: If you cannot find a specific commercial glaze, you can substitute frit 3124 as a base flux to lower the melting point of your own custom mixes. If you lack a professional banding wheel, a heavy-duty lazy susan can work in a pinch for applying concentric decorative rings, though it lacks the weighted momentum of a cast-iron studio version.
THE TEMPO
The "Maker's Rhythm" is a slow dance with evaporation. You cannot rush the drying process of Handmade Pottery Plates without risking a total structural failure. The initial throwing or hand-building phase takes about twenty minutes per piece, but the curing time is where the real work happens. You must allow the plates to dry slowly under plastic for at least three to five days. This prevents the edges from drying faster than the center, which causes the dreaded "potato chip" warp. Once bone-dry, the first bisque fire takes about twelve hours, followed by a twenty-four-hour cooling period. The final glaze fire is the crescendo, requiring another eight to ten hours at peak temperature to achieve vitrification, the process where the clay becomes non-porous and glass-like.
THE CORE METHOD
1. The Compression Foundation
The secret to a plate that does not crack is all in the floor. After opening the clay on the wheel, use a wooden rib to compress the particles from the center outward. This increases the particle density and aligns the plate's internal structure.
Mastery Tip: This step utilizes mechanical compaction to reduce the space between clay platelets. If the particles are disorganized, the plate will pull apart as the water evaporates, leading to radial cracks.
2. Trimming the Foot Ring
Once the plate is leather-hard, flip it over and use a tungsten carbide trimming tool to carve a foot ring. This ring acts as a structural "I-beam," supporting the weight of the plate and preventing the center from sagging in the kiln.
Mastery Tip: The foot ring reduces the surface area in contact with the kiln shelf. This minimizes frictional drag during the firing, allowing the plate to expand and contract freely as the temperature fluctuates.
3. The Hydration Balance
Before glazing, the bisque-fired plate must be slightly dampened with a clean sponge. This prevents the dry, porous ceramic from sucking the moisture out of the glaze too quickly, which can cause air bubbles to get trapped.
Mastery Tip: This manages capillary action. By pre-wetting the surface, you ensure the glaze particles settle in a uniform, even layer rather than clumping over dry spots.
4. Selecting the High-Alumina Glaze
For dinnerware, you need a glaze with high tensile strength. Choose a glaze rich in silica and alumina. These create a hard, scratch-resistant surface that can withstand the scrape of a stainless steel knife.
Mastery Tip: Alumina acts as a "stiffener" in the molten glass. It prevents the glaze from running off the plate and onto the kiln shelf, while also creating a chemically stable surface that won't leach minerals into food.
5. The Controlled Cooling
After the kiln reaches its peak temperature (usually Cone 6 or Cone 10), do not open the door immediately. A slow "down-fire" allows the glaze to develop a smooth, micro-crystalline structure.
Mastery Tip: Rapid cooling causes thermal shock. If the glaze cools faster than the clay body, it creates "crazing," a network of tiny cracks that can harbor bacteria and weaken the plate.
6. The Final Burnish
After the final firing, the bottom of the foot ring will be raw, unglazed ceramic. Use a diamond sanding pad to burnish the foot until it is buttery smooth.
Mastery Tip: A smooth foot ring prevents the plate from scratching the surface of your dining table. This is the hallmark of professional-grade Handmade Pottery Plates; the tactile finish should be as refined as the aesthetic.
THE TECHNICAL LEDGER
Maintenance & Longevity: To keep your plates in heirloom condition, avoid extreme thermal cycles. Do not move a plate directly from the refrigerator to a hot oven. While vitrified stoneware is incredibly durable, the coefficient of thermal expansion means the material needs time to adjust to temperature shifts.
Material Variations: For a sustainable twist, look for glazes that utilize reclaimed wood ash. This acts as a natural flux and creates a beautiful, variegated "nuka" finish. If you want a premium look, a celadon glaze over a white porcelain body offers a depth of color that mimics jade.
The Correction:
- Crawling: If the glaze beads up like water on a waxed car, the bisque was likely oily. Fix: Wash the bisque with denatured alcohol before re-glazing.
- Pinholing: Tiny bubbles in the surface. Fix: Increase the "soak" time at the end of the firing to allow the gases to escape and the glaze to heal over.
- Warping: The plate is no longer flat. Fix: Use a setter or a flat kiln shelf wash to ensure the plate is perfectly level during the high-heat phase.
Studio Organization: Store your glazed plates vertically in a padded rack. Never stack them directly on top of each other before they are fully cured and sanded, as the raw foot of one plate can scratch the delicate glaze of the one beneath it.
THE FINAL REVEAL
There is nothing quite like the "ping" of a perfectly fired plate. When you tap the rim of your finished Handmade Pottery Plates, you should hear a clear, bell-like tone; this is the sound of total vitrification. The colors are deep, the surface is smooth, and the weight feels substantial and expensive in your hand. You have successfully navigated the complex physics of ceramics to create something that is both a tool and a work of art. Your dinner guests won't just be talking about the food; they will be marveling at the fact that these gorgeous, durable pieces started as a lump of mud in your studio.
STUDIO QUESTIONS
Which glaze is safest for dinnerware?
Always choose glazes labeled "food safe" or "lead-free." High-fire feldspathic glazes are generally the most durable. They create a non-porous, chemically stable surface that will not leach minerals into acidic foods like citrus or vinegar during a dinner party.
How do I prevent my plates from warping?
Warping is usually caused by uneven drying or a lack of compression. Ensure you use a rib to compress the clay particles during throwing. Dry your plates slowly under plastic to maintain a uniform evaporation rate across the entire surface area.
Can handmade plates go in the dishwasher?
Yes, if they are fired to full vitrification. Stoneware and porcelain fired to Cone 6 or higher are generally dishwasher safe. However, the high-alkali detergents can eventually dull some specialty glazes, so hand-washing is often recommended for decorative or metallic finishes.
What is the best clay for dinner plates?
Stoneware with a fine mesh and low grog content is ideal. It provides a smooth surface for eating while maintaining the structural strength needed for flatware. Porcelain is also excellent but requires more advanced skill due to its high shrinkage and memory.

