

Picture the scent of raw cotton mingled with the sharp, ozone tang of a hot iron. You are standing in the center of your creative sanctuary, surrounded by bolts of heavy-duty canvas and rolls of rigid interfacing. We are not just sewing today; we are engineering. When you decide to create Handmade Fabric Bins, you are essentially building a soft-shell exoskeleton designed to withstand the chaotic kinetic energy of a playroom. Most patterns fail because they rely on aesthetics alone, but we are going deeper into the molecular level of fiber density. We want a bin that stands at attention even when empty, resisting the gravitational pull that turns inferior projects into sad, fabric puddles. Feel that weight in your hand? That is the tensile strength of a well-chosen textile. We are going to layer, fuse, and stitch our way to a structural masterpiece that defies the typical slouch of domestic storage. Grab your shears and clear your bench; it is time to turn floppy yardage into architectural gold.
THE STUDIO KIT
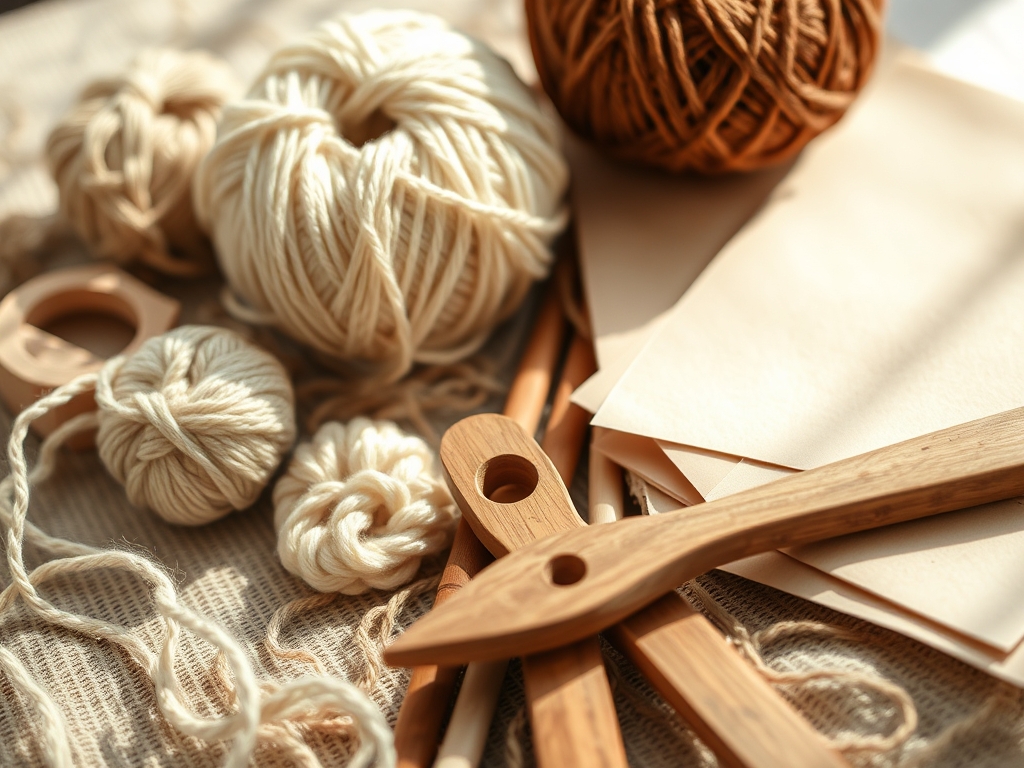
To achieve professional-grade rigidity, your toolkit must transition from hobbyist to industrial. You will need a high-torque rotary cutter with a fresh 45mm tungsten carbide blade to ensure clean, non-frayed edges. A tailor's clack is non-negotiable for trapping heat and moisture, which flattens seams to a professional gauge. For measuring, skip the flimsy tape and use a stainless steel machinist's ruler for sub-millimeter accuracy. Your primary material is a 12-ounce cotton duck canvas, which offers a high thread count and superior abrasion resistance. You will also require ultra-firm double-sided fusible peltex, which acts as the internal skeleton of the bin. For the lining, a mid-weight broadcloth provides a smooth interior surface that minimizes friction against toy parts.
Material Substitutions: If you cannot source heavy canvas, you may substitute with recycled denim or high-denier polyester upholstery fabric. If Peltex is unavailable, a layered buckram or heavy-weight non-woven stabilizer can provide similar structural integrity. For a premium touch, replace the cotton webbing handles with vegetable-tanned leather strips, secured with copper rivets for maximum shear strength.
THE TEMPO
The "Maker's Rhythm" is a psychological state where the mechanical repetition of the task aligns with your cognitive focus. For these Handmade Fabric Bins, expect a total production time of approximately three hours per unit. The Preparation Phase (45 minutes) involves the meticulous calibration of your cutting mat and the precision slicing of all seven layers. The Fusion Phase (30 minutes) is the most critical, requiring a slow, rhythmic application of heat to activate the adhesive resins. The Assembly Phase (60 minutes) is where the three-dimensional form emerges, requiring careful manipulation of the bulk under the presser foot. Finally, the Finishing Phase (45 minutes) involves top-stitching and hardware installation. Do not rush the cooling periods; allowing the fibers to set is what ensures the bin maintains its vertical memory over years of use.
THE CORE METHOD
1. The Stratified Cut
Begin by cutting your outer fabric, lining, and structural stabilizers. You are aiming for a seven-layer sandwich: the outer shell, two layers of heavy interfacing, a central core of rigid stabilizer, and the interior lining components. Use your rotary cutter to maintain a 90-degree grain alignment.
Mastery Tip: Aligning the fabric grain is essential for dimensional stability. If the grain is skewed, the bin will eventually torque or twist due to the internal tension of the fibers.
2. Thermal Fusion Bonding
Layer your stabilizers between the outer fabric and the lining. Use a dry iron at the highest setting recommended for the fiber type. Apply vertical pressure rather than sliding the iron to avoid shifting the layers.
Mastery Tip: This process utilizes thermoplastic adhesion. By applying consistent heat, you melt the resin beads on the interfacing, forcing them to migrate into the porous weave of the canvas, creating a singular, composite material.
3. Structural Box Cornering
Fold the fused panels to create the base. Use a bone folder to crisp the creases before stitching. This creates a mechanical memory in the fabric, much like scoring paper before folding.
Mastery Tip: We are manipulating the geometric rigidity of the form. By sewing a boxed corner, you create a load-bearing gusset that redistributes the weight of the contents across the base and up the vertical walls.
4. The Compression Top-Stitch
Once the bin is turned right-side out, the top rim will be bulky. Use an edge-stitch foot to sew a high-tension line around the perimeter. This compresses the seven layers into a streamlined, rigid edge.
Mastery Tip: This stitch increases the hoop strength of the bin. Much like the rings on a wooden barrel, a tight top-stitch prevents the circular or square opening from deforming under lateral pressure.
5. Hardware Integration
Mark your handle placements using a marking awl. If using leather handles, pre-punch holes to avoid needle deflection. Secure with rivets using a heavy-duty setter.
Mastery Tip: Rivets provide a mechanical bond that far exceeds the tensile strength of thread alone. This ensures that even when the bin is loaded with heavy wooden blocks, the handles will not shear away from the body.
THE TECHNICAL LEDGER
Maintenance & Longevity: To preserve the structural integrity of your Handmade Fabric Bins, avoid machine washing. The agitation can break down the thermal bond of the interfacing. Instead, spot clean with a damp microfiber cloth. If the bin loses its shape, "re-set" the resin by stuffing the bin with towels and applying steam to the exterior.
Material Variations: For a sustainable approach, use hemp canvas, which has longer fibers and higher natural durability than cotton. For a premium aesthetic, incorporate waxed canvas, which adds a water-resistant barrier and a self-healing patina that improves with age.
The Correction:
- The Slouch: If the walls collapse, you likely didn't reach the "glass transition temperature" of the adhesive. Fix: Re-iron with a pressing cloth and more pressure.
- Puckering Seams: This occurs when the tension is too high for the thickness. Fix: Increase your stitch length to 3.5mm and use a denier-appropriate needle (90/14 or 100/16).
- Corner Bulge: Excess bulk in the corners. Fix: Grade your seam allowances by trimming the internal stabilizer layers closer to the stitch line than the outer fabric.
Studio Organization: Store your materials in a climate-controlled environment. High humidity can pre-activate fusibles or cause natural fibers to swell, altering your precision cuts. Use a vertical rack for stabilizers to prevent permanent creasing.
THE FINAL REVEAL
Look at that silhouette! Your Handmade Fabric Bins are no longer just storage; they are a testament to technical precision and textile science. The way the light catches the weave of the canvas and the crispness of those corners screams professional quality. You have successfully navigated the complexities of fiber density and thermal bonding to create something that is as beautiful as it is indestructible. These bins are ready to be filled, stacked, and lived with. They represent the perfect intersection of form and function, proving that with the right tools and a bit of physics, you can engineer a solution for any household chaos.
STUDIO QUESTIONS
What is the best fabric for heavy toy storage?
A 12-ounce cotton duck canvas is the gold standard. Its high tensile strength and tight weave prevent stretching and tearing, ensuring the bin maintains its structural form even when filled with heavy wooden blocks or metal cars.
Can I make these bins without an industrial machine?
Yes, but you must use a walking foot and a size 100/16 needle. These tools help manage the thickness of the seven layers, preventing skipped stitches and ensuring the feed dogs move the material evenly through the machine.
Why do my fabric bins keep collapsing?
Collapsing is usually caused by insufficient interfacing weight. To fix this, ensure you are using a non-woven, ultra-firm stabilizer and that you have achieved a full thermal bond between the stabilizer and the fabric layers during the fusion process.
How do I clean handmade canvas bins?
Spot clean only using a mild detergent and a soft brush. Avoid full immersion in water, as this can degrade the adhesive resins in the interfacing, leading to a loss of rigidity and potential bubbling of the fabric layers.

