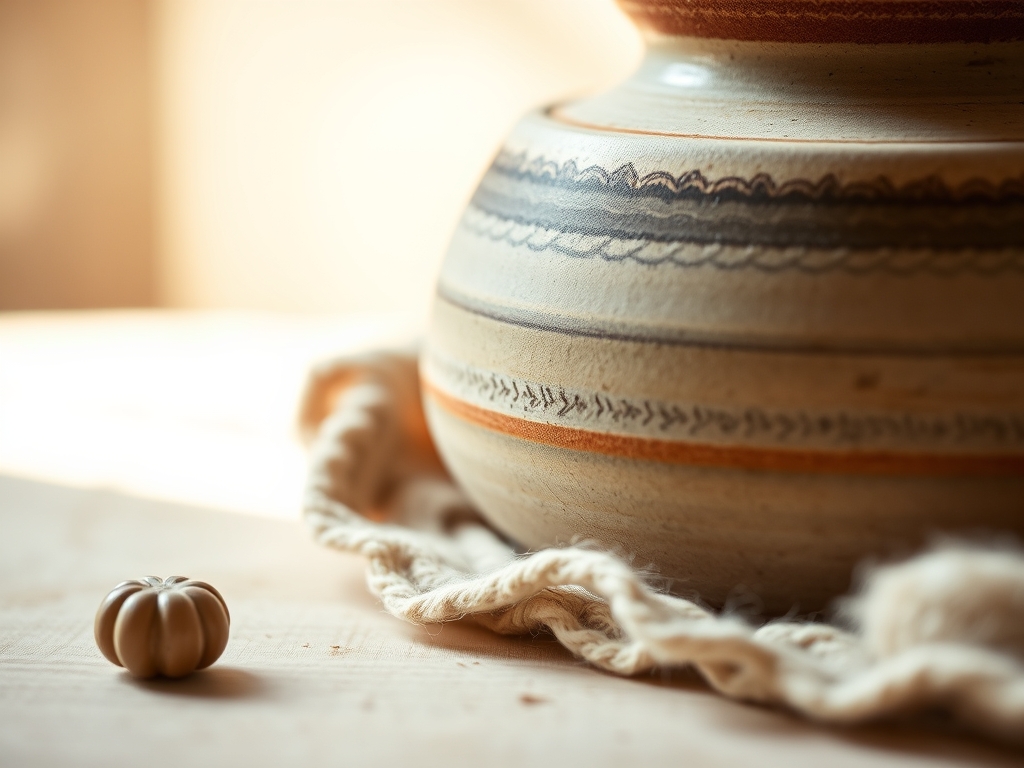
Run your fingers across the grain of a weathered cedar plank or the cool, dense weave of a discarded linen sack. There is a specific frequency to reclaimed materials; they possess a memory of their former utility that fresh, store bought supplies simply lack. When you commit to Crafting a Greener Life, you are not just making decor. You are engaging in a high stakes rescue mission for fibers and minerals that would otherwise succumb to the entropy of a landfill. Feel the tactile resistance of high density polyethylene as you prepare to reshape it. Notice the way light refracts through sea glass with a dull, frosted finish born of decades of salt water abrasion. We are going to harness the physics of surface tension and the structural integrity of cross stitched bonds to turn what the world calls trash into what we call a masterpiece. This is about more than aesthetics; it is about the engineering of endurance and the sheer, caffeinated joy of creating something from nothing.
THE STUDIO KIT
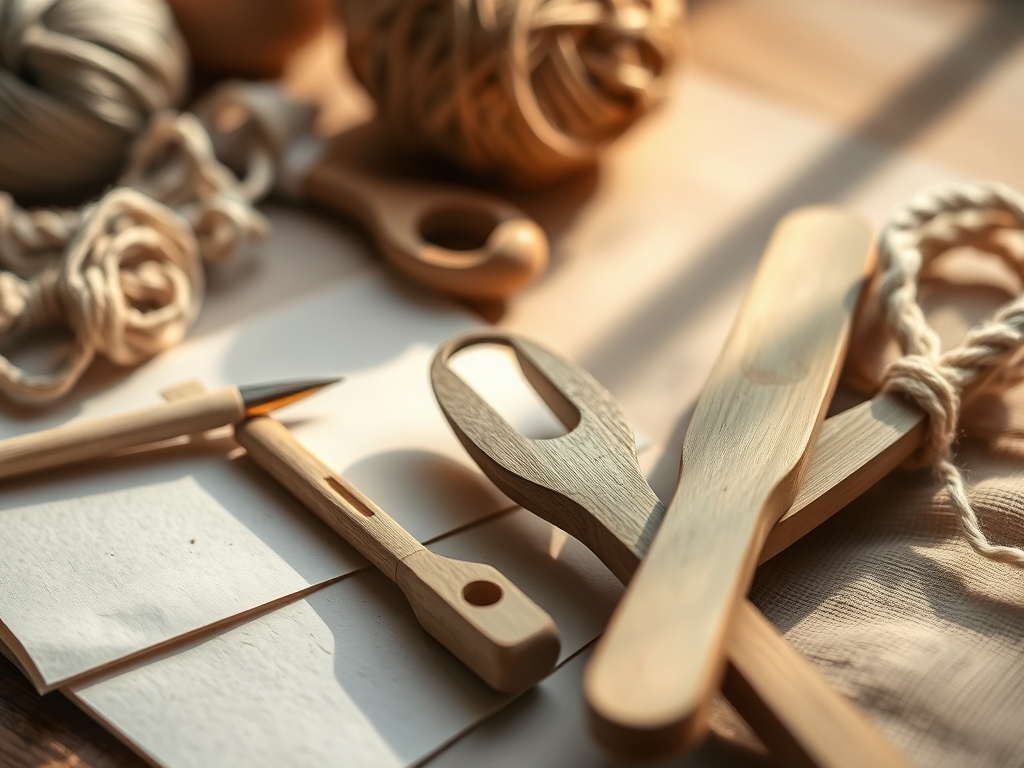
To master the art of upcycling, your toolkit must be as sophisticated as your vision. Forget flimsy school scissors. You need a high carbon steel rotary cutter for clean, shear force cuts through multi ply fabrics and a jeweler's saw for navigating the intricate radii of recycled metals. A bone folder is non negotiable for achieving crisp, molecularly dense creases in heavy cardstock or leather scraps. For assembly, keep a set of digital calipers nearby to measure the precise gauge of wire or the thickness of wood veneers; accuracy is the difference between a project that lasts and one that collapses under its own weight.
Material Substitutions: If you lack a traditional awl for piercing thick substrates, a sharpened steel upholstery needle can serve as a high pressure alternative. Instead of chemical heavy epoxies, explore the use of casein glue or high strength flour pastes which offer surprising tensile strength when cured in low humidity environments.
THE TEMPO
The "Maker's Rhythm" is a biological synchronization with your materials. You cannot rush the curing time of a bio resin or the capillary action of a natural dye bath.
- The Scavenge (2 hours): Sourcing materials based on their porous qualities or structural soundness.
- The Preparation (1 hour): Stripping finishes using mechanical abrasion rather than caustic chemicals.
- The Assembly (4-6 hours): This is the flow state where your pulse matches the rhythmic strike of a mallet.
- The Cure (24 hours): Allowing molecular bonds to stabilize and moisture levels to reach equilibrium with your studio's atmosphere.
THE CORE METHOD
1. The Geometric Glass Terrarium
Transform old window panes into a geometric sanctuary. Use your glass cutter to score precise lines, then apply a heat shock to snap the pieces along the score line. Mastery Tip: This relies on controlled fracture propagation. By creating a microscopic stress point, you dictate exactly where the molecular bonds will fail, ensuring a clean edge that requires minimal grinding.
2. The Industrial Pallet Credenza
Disassemble heat treated pallets, avoiding chemically fumigated wood. Use a crowbar to maintain the grain direction and prevent splintering. Mastery Tip: When joining boards, account for hygroscopic expansion. Wood is a living material that swells with humidity; leaving a 1/16th inch gap prevents the structure from buckling as the seasons change.
3. The Denim Insulation Rug
Strip old jeans into long ribbons using a rotary cutter. Braid these into high density coils. Mastery Tip: Denim has incredible tensile strength due to its twill weave. By braiding the strips, you distribute the load across thousands of individual cotton fibers, creating a floor covering that can withstand high traffic friction for decades.
4. The Tin Can Lantern Array
Remove the labels from steel cans and fill them with water to freeze. Once solid, use a hammer and awl to punch patterns. Mastery Tip: The ice acts as a non compressible internal support, preventing the thin gauge metal from deforming under the force of the punch. This preserves the structural integrity of the cylinder while allowing for intricate light diffusion.
5. The Vinyl Record Wall Clock
Gently heat warped or scratched vinyl records until they become pliable. Reshape the edges or keep them flat for a minimalist look. Mastery Tip: Vinyl is a thermoplastic. It reaches its "glass transition temperature" at approximately 160 degrees Fahrenheit. Stay within this window to reshape the material without off gassing harmful vapors or melting the grooves entirely.
6. The Leather Scraps Tech Roll
Collect offcuts from old jackets or bags. Use a stitching pony to hold the pieces while you execute a traditional saddle stitch. Mastery Tip: Use a burnishing tool on the edges. The friction creates heat, which fuses the leather fibers together with natural oils, creating a waterproof, hardened edge that prevents fraying.
7. The Mason Jar Herb Garden
Mount glass jars to reclaimed wood using stainless steel hose clamps. Mastery Tip: Since glass is non porous, you must add a layer of horticultural charcoal at the base. This utilizes adsorption to trap impurities and prevent root rot in a system that lacks traditional drainage.
8. The Paper Pulp Sculptural Bowl
Shred office waste and soak it to break down the lignin. Mold the pulp over a balloon or bowl. Mastery Tip: As the water evaporates, the cellulose fibers undergo hydrogen bonding. This creates a surprisingly rigid matrix that, once sealed with a natural wax, offers excellent durability and a unique, stone like texture.
THE TECHNICAL LEDGER
Maintenance & Longevity: To keep your upcycled pieces in peak condition, avoid direct UV exposure which can degrade the polymers in plastics and fade natural pigments. Use a microcrystalline wax to burnish wooden surfaces, creating a moisture barrier that does not peel or yellow over time.
Material Variations:
- Sustainable: Organic hemp cordage, beeswax finishes, and soy based inks.
- Recycled: Post consumer HDPE, reclaimed barn wood, and salvaged brass hardware.
- Premium: Incorporating small amounts of high grade sterling silver wire or vegetable tanned leather to elevate the "scavenged" aesthetic.
The Correction:
- Splitting Wood: If a screw splits the grain, back it out and fill the void with a mixture of sawdust and wood glue to restore structural density before re drilling a pilot hole.
- Frayed Fabric: If denim strips are unraveling, use a "zigzag" stitch on the edges to lock the warp and weft threads in place.
- Dull Glass Edges: If a cut is jagged, use a silicon carbide sanding stone submerged in water to prevent heat buildup and further cracking.
Studio Organization: Store your reclaimed "inventory" by material density. Keep heavy metals low to the ground to maintain a low center of gravity in your shelving. Store paper and textiles in airtight bins with silica packets to prevent oxidation and mold growth.
THE FINAL REVEAL
Look at what you have done! You have taken the forgotten debris of a consumerist culture and re engineered it into something with soul, weight, and purpose. The room feels different now; it vibrates with the energy of your labor. These pieces are not just furniture or accessories; they are physical manifestations of your commitment to Crafting a Greener Life. You have successfully navigated the physics of tension, the chemistry of adhesives, and the geometry of design to create a home that is as smart as it is beautiful.
STUDIO QUESTIONS
How do I ensure my upcycled furniture is safe?
Always check for "HT" stamps on pallets, indicating heat treatment rather than chemical fumigation. Use a lead testing kit on old paint layers. Ensuring structural stability requires checking all joints for mechanical failure before applying weight or tension.
What is the best way to clean reclaimed textiles?
Soak fibers in a pH neutral solution to avoid stripping natural oils or damaging tensile strength. Use a gentle agitation method rather than high heat drying, which can cause irregular fiber contraction and ruin the drape of the material.
Can I use any glue for upcycling projects?
No, adhesives must be matched to the surface energy of the substrate. Non porous materials like metal or glass require high tack cyanoacrylates or epoxies, while porous materials like wood and paper bond best with water based PVA glues.
How do I prevent rust on salvaged metal?
Remove existing oxidation with a wire brush or mild acid. Once clean, seal the surface with a thin coat of linseed oil or a clear matte lacquer to prevent oxygen from reaching the metal and initiating the corrosion process.