Imagine the sharp, rhythmic snap of a rotary cutter slicing through raw, unwashed linen; it is a sound that signals the birth of your new favorite garment. We are diving deep into the science of Handmade Wardrobe Basics because your skin deserves better than the static-prone, synthetic blends found in fast fashion. When you run your fingers across a high-quality textile, you are feeling the micron count of the fibers and the specific density of the weave. This is not just a hobby; it is a structural engineering project for your body. We are going to build five essential patterns that prioritize movement, breathability, and durability. By understanding how the warp and weft interact under tension, you can create pieces that drape perfectly every single time you put them on. We are moving beyond the surface level to master the physics of the perfect fit.
THE STUDIO KIT

To construct high-end Handmade Wardrobe Basics, your toolbox must be as precise as a laboratory. Start with a heavy-duty rotary cutter equipped with a tungsten carbide blade; this ensures a clean edge by minimizing the lateral displacement of the fabric fibers. You will also need a bone folder to create crisp, permanent creases in natural fibers without scorching the delicate cellulose structure. For measuring, skip the flimsy plastic tapes and reach for stainless steel calipers or a rigid metal rule to ensure your seam allowances are accurate to the millimeter.
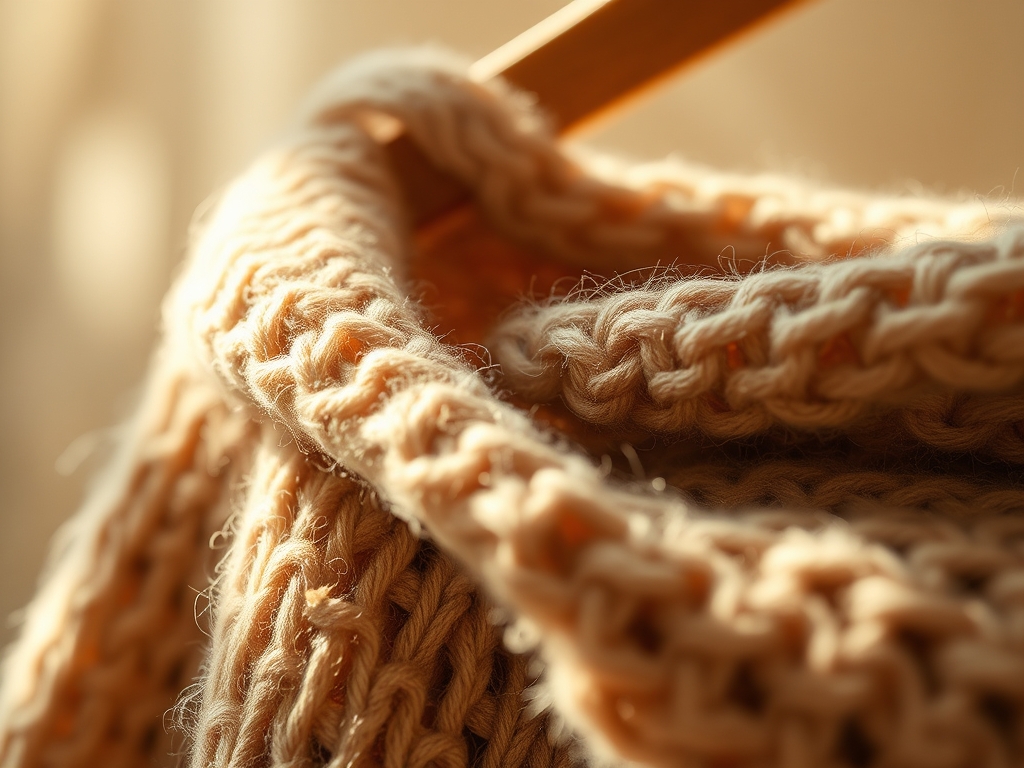
Your material selection is the foundation of the garment's structural integrity. For these patterns, focus on high-tensile linen, organic cotton jersey with a 5 percent elastane recovery, and Tencel lyocell for its incredible moisture-wicking properties. If you need to make a material substitution, remember the physics of drape. If a pattern calls for a mid-weight woven, you can substitute a heavy silk crepe de chine, but never a stiff canvas, as the torsional rigidity of the canvas will fight against the intended silhouette of the garment.
THE TEMPO
The "Maker's Rhythm" is a psychological state where your cognitive load decreases as your mechanical efficiency increases. In the studio, time is divided into three distinct phases: the Preparation Phase, the Assembly Phase, and the Finishing Phase. The Preparation Phase, which includes pattern grading and fabric layout, typically consumes 40 percent of your total project time. This is where you calculate the grain direction to prevent the garment from twisting around your torso after the first wash.
The Assembly Phase is the "heartbeat" of the project. It is the rhythmic pulse of the sewing machine or the steady hand-stitching that builds the 3D form from 2D planes. This phase takes roughly 35 percent of your time. Finally, the Finishing Phase involves the burnishing of seams and the application of hardware. Never rush this. A well-finished garment is the difference between a "craft project" and a professional wardrobe staple. Expect a total time investment of four to six hours per basic piece, depending on the complexity of the internal finishing.
THE CORE METHOD
1. The Boxy Linen Top
We begin with a silhouette that relies on the structural stability of linen. This pattern uses a simple kimono sleeve to eliminate the need for complex set-in armscyes, which can often be a point of mechanical failure in high-stress garments. By cutting the front and back pieces on the straight grain, you maximize the fabric's resistance to stretching.
Mastery Tip: Understand the capillary action of natural fibers. When you pre-wash your linen, the fibers swell and then contract into a more stable state. This prevents "seam pucker" later on because the fabric has already reached its maximum shrinkage equilibrium before you apply the first stitch.
2. The High-Recovery Legging
For a daily basic, the legging must possess a high elastic modulus. This means the fabric can be stretched significantly but will return to its original shape without permanent deformation. We use a four-way stretch knit with a high denier count to ensure opacity during movement.
Mastery Tip: Use a ballpoint needle for this project. Unlike a standard sharp needle that cuts through fibers, a ballpoint needle slides between the knit loops. This preserves the structural integrity of the knit and prevents "runs" or holes from forming at the seam line under high tension.
3. The Drape-Front Cardigan
This piece focuses on the tactile fluidity of Tencel or bamboo jersey. The pattern is designed with a weighted hem to encourage the fabric to fall vertically, utilizing gravity to create a slimming effect. The lack of structured shoulders allows the garment to mold to the wearer's unique skeletal frame.
Mastery Tip: To prevent the neckline from stretching out over time, stay-stitch the curves immediately after cutting. This mechanical reinforcement locks the bias-cut edges in place, preventing the fibers from sliding past one another and distorting the shape of the garment.
4. The Utility Elastic Waist Pant
These pants bridge the gap between comfort and durability. We utilize a flat-felled seam on the inseam to provide maximum shear strength. The elastic waistband is top-stitched in three parallel rows to distribute the pressure evenly across the iliac crest, preventing the elastic from rolling or twisting.
Mastery Tip: When inserting the elastic, use a heavy-duty awl to clear the path through thick seam intersections. This reduces friction and prevents the elastic from snagging on the internal fiber burrs of the fabric, ensuring a smooth, ergonomic fit.
5. The Minimalist Shift Dress
The shift dress is a masterclass in geometric simplicity. It relies on darts to translate a flat plane into a three-dimensional curve. By placing the darts at the apex of the bust, we create a pocket of volume that allows for a full range of motion without pulling at the hemline.
Mastery Tip: When sewing darts, never back-stitch at the point. Instead, leave long thread tails and tie them by hand. This avoids a "dimple" at the tip of the dart, maintaining a smooth, professional surface tension across the front of the dress.
THE TECHNICAL LEDGER
To ensure your Handmade Wardrobe Basics last for decades, you must understand the chemistry of maintenance. Always wash natural fibers in pH-neutral detergents to prevent the breakdown of the protein or cellulose bonds. Avoid high-heat drying, which causes "thermal shock" to the fibers, leading to brittleness and loss of tensile strength.
Material Variations: For a premium version, use Grade A Mulberry Silk; it has a tensile strength comparable to steel of the same diameter. For a sustainable option, look for recycled post-consumer cotton, though be aware the shorter fiber length may result in slightly more pilling over time.
The Correction:
- Wavy Seams in Knits: This is caused by the presser foot stretching the fabric as it sews. Fix: Reduce the pressure on the presser foot or use a walking foot to ensure even feed.
- Skipped Stitches: Usually a result of a dull needle or incorrect needle size for the fabric gauge. Fix: Replace the needle every 8 hours of sewing time.
- Frayed Edges: This happens when the fabric is handled too much before finishing. Fix: Use an overlock stitch or a zigzag finish on all raw edges immediately after cutting.
Studio Organization: Store your fabric rolls horizontally on a rack to prevent the weight of the fabric from distorting the grain. Keep your patterns in acid-free envelopes to prevent the paper from degrading and losing its dimensional accuracy.
THE FINAL REVEAL
There is an incredible rush of dopamine when you slide into a garment that you engineered from scratch. Your new Handmade Wardrobe Basics are not just clothes; they are a testament to your technical skill and your refusal to accept the low standards of mass production. These pieces will move with you, breathe with you, and hold their structural integrity through a thousand wears. You have successfully navigated the physics of textiles to create a collection that is as smart and resilient as you are.
STUDIO QUESTIONS
What is the best fabric for beginners?
Cotton poplin is ideal because it has low lateral slip and high dimensional stability. It stays exactly where you pin it, making it the perfect substrate for practicing precise seam allowances and complex transitions.
Why do my seams look puckered?
Puckering usually occurs due to uneven thread tension or using a needle that is too large for the fabric density. Adjust your machine tension settings and ensure your needle gauge matches the weight of your textile.
Can I use a regular sewing machine for knits?
Yes, provided you use a stretch stitch or a narrow zigzag. This allows the seam to expand and contract with the fabric fibers, preventing the thread from snapping when the garment is under tension.
How do I stop linen from fraying?
Linen is a highly porous woven fabric that sheds fibers easily. Use a French seam or a serged edge to encapsulate the raw edges. This mechanical barrier prevents the weave from unraveling during wear and laundering.
How often should I clean my tools?
Dust and lint can increase friction in your machine and dull your blades. Clean your bobbin case every two projects and use a honing stone on your shears once a month to maintain peak cutting efficiency.