
The scent of cedar shavings and raw wool fills the air as the sun dips below the horizon. You can feel the static electricity crackling through the fibers as you pull a fresh skein from your basket. Finding the right rhythm in crafting for evening calm is about more than just keeping your hands busy; it is about the physical interaction between your nervous system and the tensile strength of your thread. As you sit down, your heart rate begins to sync with the repetitive motion of the needle. This is biological engineering at its most soothing. Every pull of the yarn creates a specific amount of friction against the skin, triggering a sensory feedback loop that tells your brain it is time to downshift. We are not just making a blanket or a scarf; we are recalibrating our internal clock through the steady, predictable physics of fiber arts. Grab your favorite mug and let us dive into the mechanics of the perfect stitch.
THE STUDIO KIT
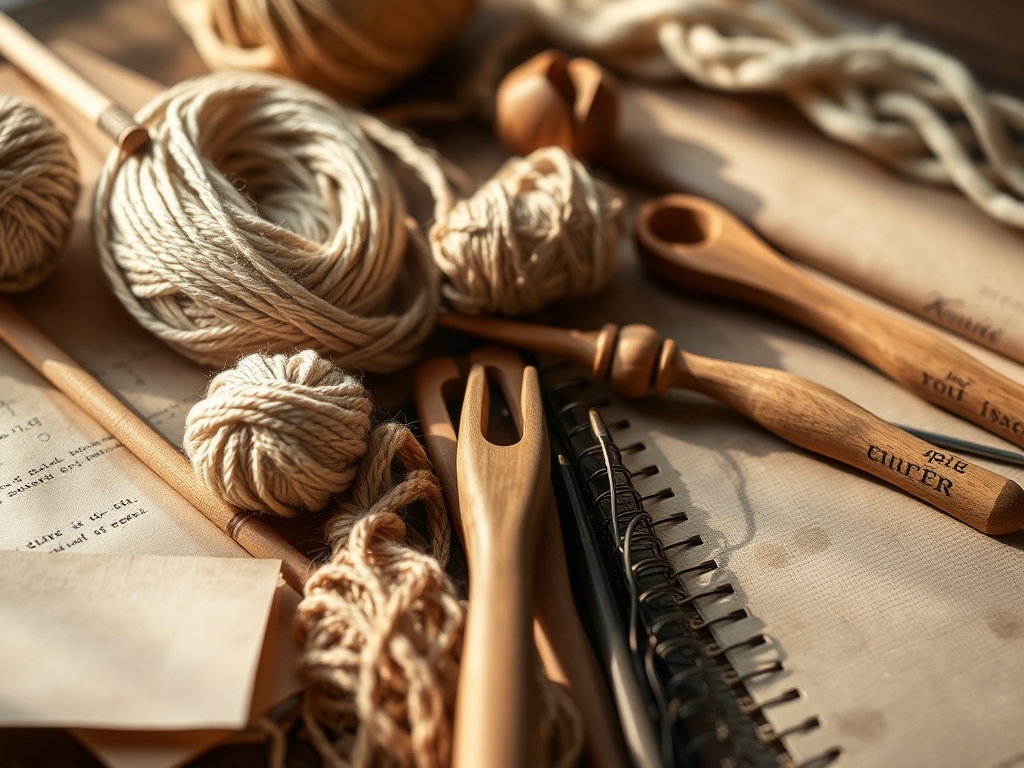
To master these stitches, you need tools that respect the structural integrity of your materials. Start with a set of ergonomic aluminum crochet hooks or bamboo knitting needles. Bamboo is naturally porous, providing a slight grip that prevents the yarn from sliding too quickly, which is essential for maintaining a steady Maker's Rhythm. You will also need a pair of high-carbon steel embroidery scissors for clean, crisp cuts that prevent fraying at the microscopic level.
A bone folder is surprisingly useful for flattening seams in heavier fabric projects, while a rotary cutter ensures that your fabric edges are perfectly perpendicular to the grain line. For those working with embroidery, a hardwood hoop is non-negotiable to maintain consistent surface tension across the textile.
Material Substitutions: If you lack organic wool, a high-quality mercurized cotton offers excellent ply stability. If a traditional thimble feels too clunky, try a leather finger guard; it provides the same protection against the needle's eye while allowing for better tactile sensitivity.
THE TEMPO
The transition from "work mode" to "sleep prep" takes approximately forty-five minutes of sustained, rhythmic activity. The first fifteen minutes are the Calibration Phase, where you find your gauge and settle into the physical posture of the craft. The next twenty minutes are the Flow State, where the repetitive motion becomes subconscious and your breathing patterns stabilize. The final ten minutes are the Wind-Down, where you finish a row or a section, securing the thread to prevent unraveling before storage. This structured timing allows your cortisol levels to drop naturally as you focus on the micrometer-level precision of your stitches.
THE CORE METHOD
1. The Seed Stitch
This stitch creates a bumpy, textured surface by alternating knits and purls. The tactile variation provides constant sensory input that keeps your mind from wandering to tomorrow's to-do list. Because the yarn crosses over itself frequently, it creates a dense fabric with high thermal insulation properties.
Mastery Tip: Pay attention to the torsion of your yarn. If you twist the needle too aggressively, you will increase the internal stress of the fiber, leading to a stiff fabric that lacks drape.
2. The Sashiko Running Stitch
A traditional Japanese technique, this involves a simple straight stitch that reinforces the fabric. It is a lesson in linear alignment. By pulling the thread through multiple folds of fabric at once, you utilize the capillary action of the needle to glide through the weave.
Mastery Tip: Use a long, sharp needle to maintain a consistent stitch length. The science of Sashiko relies on the ratio of the stitch to the gap; aim for a 3:2 ratio to ensure the tensile load is distributed evenly across the garment.
3. The Herringbone Stitch
This embroidery classic creates a crossed pattern that mimics the skeletal structure of a fish. It is excellent for borders because the overlapping threads provide superior lateral stability.
Mastery Tip: Watch your angle of incidence. If your needle enters the fabric at anything other than a ninety-degree angle, you will distort the warp and weft, causing the fabric to pucker once it is removed from the hoop.
4. The Moss Stitch (Crochet)
Similar to the seed stitch but executed with a hook, this uses a combination of single crochets and chain stitches. This creates a "woven" look that is highly breathable due to the intentional gaps in the stitch density.
Mastery Tip: Consistency in tension is king here. Use a caliper to measure your first few rows; if the width varies by more than two millimeters, your hand pressure is fluctuating with your stress levels.
5. The French Knot
This involves wrapping the thread around the needle before piercing the fabric. It creates a three-dimensional "bead" of thread. The physics here involves friction-locking the yarn against itself.
Mastery Tip: To prevent the knot from pulling through, ensure your needle diameter is slightly larger than the ply of your thread. This creates a hole that is just large enough for the thread but too small for the knotted mass to pass back through.
6. The Blanket Stitch
Used primarily for edging, this stitch loops the thread under the needle to create a reinforced border. It protects the raw edge of the material from mechanical abrasion.
Mastery Tip: Maintain a consistent depth of penetration from the edge. This ensures that the sheer force applied to the edge of the fabric is neutralized by the interlocking loops of the thread.
7. The Lazy Daisy
A series of detached chain stitches that form floral patterns. This stitch relies on the elastic recovery of the fiber. You create a loop and then "tack" it down with a tiny straight stitch.
Mastery Tip: Do not pull the tacking stitch too tight. You want to maintain the loop volume to catch the light, creating a visual depth that enhances the aesthetic refraction of the finished piece.
THE TECHNICAL LEDGER
Maintenance & Longevity: To keep your projects pristine, always wash your hands before crafting to remove skin oils that can cause acidic degradation of natural fibers over time. Use a soft-bristled brush to remove lint from your tools.
Material Variations:
- Sustainable: Tencel or bamboo fibers offer high moisture-wicking properties.
- Recycled: Sari silk ribbon provides unique textural irregularities.
- Premium: Cashmere blends offer the highest softness-to-weight ratio for ultimate comfort.
The Correction:
- The Dropped Stitch: Use a small crochet hook to "ladder" the stitch back up to the current row, ensuring you do not twist the loop orientation.
- The Tension Spike: If a section is too tight, use a steam iron to relax the fibers, but never touch the metal directly to synthetic yarns to avoid thermal melting.
- The Thread Snag: Use a fine-point awl to gently tease the snag back into the body of the fabric rather than cutting it, which would compromise the structural integrity.
Studio Organization: Store your evening projects in a breathable cotton bag. Avoid plastic bins, which can trap moisture and lead to mildew growth in natural fibers. Keep your needles in a magnetized case to prevent oxidization of the metal tips.
THE FINAL REVEAL
There is nothing quite like the feeling of holding a finished piece that you have literally breathed into existence. As you finish your final row, take a moment to burnish any rough edges and admire the geometric perfection of your work. The weight of the fabric in your lap acts like a weighted blanket, signaling to your nervous system that the day is done. You have successfully converted mental energy into physical form. Your space is quiet; your mind is still; and your project is ready to be tucked away as you drift into a deep, restorative sleep.
STUDIO QUESTIONS
Why is natural wool better for evening crafting?
Natural wool contains lanolin, which acts as a natural lubricant for your hands. Its high elasticity also absorbs the micro-shocks of repetitive motion, reducing joint strain and promoting a more fluid, relaxing Maker's Rhythm during your session.
How does stitch count affect my stress levels?
Counting stitches engages the prefrontal cortex in a low-stakes mathematical task. This "occupational therapy" blocks intrusive thoughts by forcing the brain to focus on numerical precision, effectively lowering heart rate and inducing a meditative state.
Can I use an oscillating tool for fiber arts?
While rarely used for stitching, an oscillating tool with a felt buffing attachment can be used to burnish wooden knitting needles or crochet hooks. This reduces surface friction, allowing the yarn to glide with zero resistance.
What is the best lighting for evening crafting?
Use a lamp with a color temperature between 2700K and 3000K. This warm light mimics the sunset and does not suppress melatonin production, ensuring your "crafting for evening calm" actually helps you prepare for sleep.
How do I prevent my thread from tangling?
Run your thread through a block of beeswax before stitching. This coats the fibers, reducing the coefficient of friction and preventing the static buildup that causes the thread to knot or birds-nest during complex movements.

