
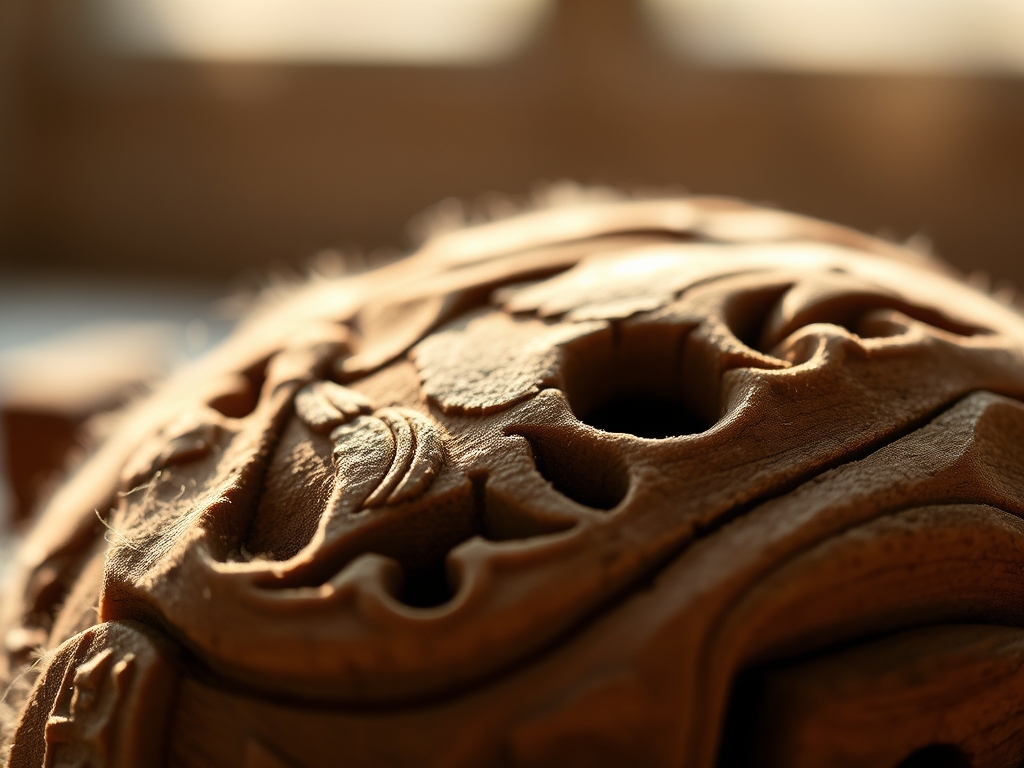
Imagine the smell of fresh cedar shavings hitting the floor as your blade glides through the grain like it is warm butter. That satisfying, rhythmic "thwack" of a mallet against a chisel is the heartbeat of your workshop. However, when your tool starts tearing the fibers instead of slicing them, your Daily Wood Carving Tasks become a frustrating battle against physics. Dull steel creates friction; friction creates heat; and heat ruins the structural integrity of your wood. We are about to transform your kit from blunt instruments into surgical masterpieces.
To master the craft, you have to understand that wood is not a solid block but a bundle of microscopic straws. If your edge is not perfectly honed, you are basically trying to cut those straws with a spoon. It is messy, it is dangerous, and it looks terrible. We are going to dive deep into the tensile strength of high carbon steel and the grit progression required to keep your edges screaming sharp. Grab your favorite gouge and let us get to work.
THE STUDIO KIT
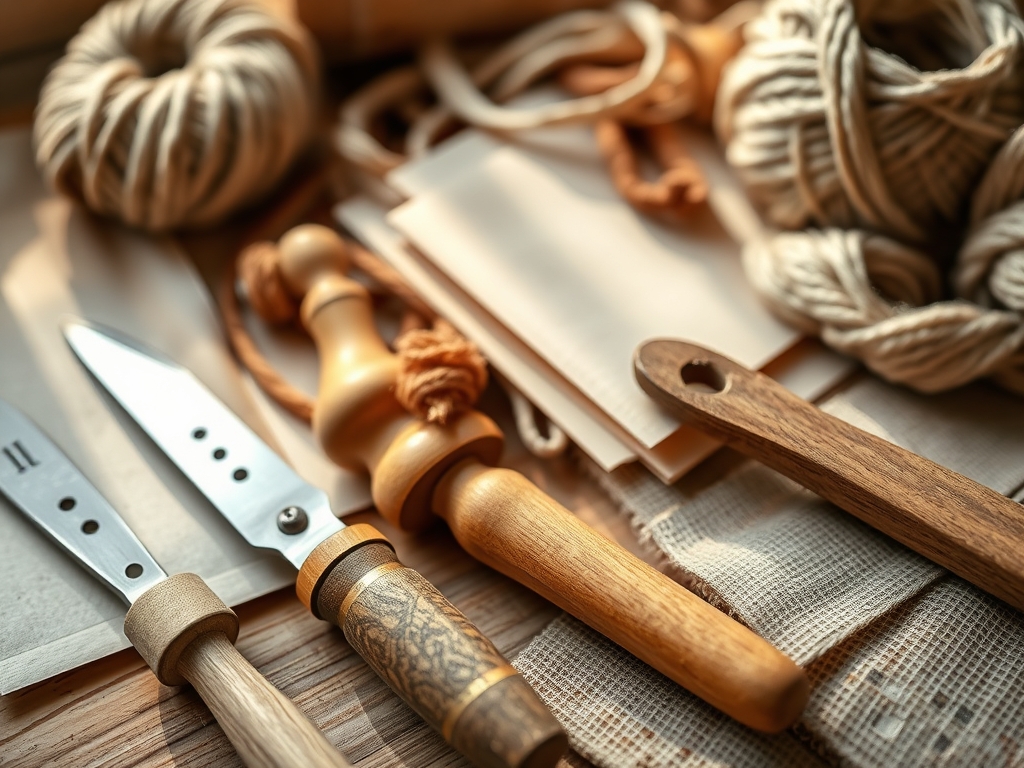
To maintain your edge for high-intensity Daily Wood Carving Tasks, your bench needs a specific set of technical assets. First, you need a dual-grit whetstone, preferably a water stone with a 1000/6000 split. Water stones are porous and require soaking to facilitate the slurry that actually does the grinding. You will also need a leather strop and a stick of chromium oxide honing compound. This compound acts as a microscopic abrasive to polish the edge to a mirror finish.
For precision measurements, keep a pair of digital calipers nearby to check the bevel angle of your blade. Most carving tools perform best at a 20 to 25 degree angle. If you do not have a professional sharpening jig, you can use a simple wooden block cut to the correct degree as a guide. For material substitutions, if you lack a leather strop, a piece of flat, untreated cereal box cardboard can serve as a functional burnishing surface in a pinch. Just remember that the goal is a perfectly flat, tactile surface that will not round over your delicate edge.
THE TEMPO
The "Maker's Rhythm" is all about consistency rather than speed. For a standard maintenance session, expect to spend about fifteen minutes. The initial grind on the coarse stone takes five minutes of focused, repetitive motion to establish the primary bevel. The transition to the fine grit requires another four minutes of lighter pressure to remove the scratches from the previous stage.
The final stropping phase is the most meditative, taking about three minutes to achieve that razor-sharp finish. You should spend the remaining three minutes cleaning and oiling your tools. This tempo ensures you are not rushing the molecular friction required to reshape the steel. If you try to force the process, you risk overheating the metal, which can draw the temper and make the steel soft and useless for hardwood applications.
THE CORE METHOD
1. The Saturation Soak
Before any metal touches the stone, you must soak your water stones until they stop bubbling. This indicates that the capillary action has pulled water into every pore of the stone, providing the necessary lubrication to prevent the steel from clogging the surface.
Mastery Tip: Always use distilled water if you have hard tap water. Mineral buildup can change the surface tension of the slurry, leading to an uneven grind and potential pitting on your high carbon steel.
2. Establishing the Primary Bevel
Hold your tool at a consistent 25 degree angle. Using firm, even pressure, move the blade back and forth across the 1000 grit side of the stone. You are looking for the "burr," a tiny curl of metal that forms on the opposite side of the edge.
Mastery Tip: Use your calipers to check the width of the bevel frequently. An uneven bevel indicates that your hand is rocking, which creates a rounded edge that will skip across the wood grain instead of biting in.
3. Refining the Scratch Pattern
Flip the stone to the 6000 grit side. This stage is about removing the deep grooves left by the coarse stone. The goal is a surface so smooth that light reflects off it uniformly.
Mastery Tip: The science here is about grit density. As you move to higher grits, you are reducing the depth of the "valleys" in the steel. This reduces the friction coefficient when the tool enters the wood, making your Daily Wood Carving Tasks much easier on your wrists.
4. The Bur Removal
Once the edge is refined, you must remove the microscopic wire edge, or burr. Lightly pull the blade across the stone in a trailing motion, alternating sides until the burr snaps off.
Mastery Tip: If the burr is stubborn, it means the steel is highly ductile. A quick pass through a piece of end-grain scrap wood can help "catch" the burr and pull it away without damaging the newly established apex.
5. Polishing on the Strop
Apply a thin layer of honing compound to your leather strop. Pull the blade away from the cutting edge with moderate pressure. This is not grinding; it is burnishing the steel at a molecular level to create a mirror-like finish.
Mastery Tip: The leather has a slight "give" to it. If you press too hard, the leather will wrap around the edge and actually dull it. Use a light touch to ensure the geometric integrity of the apex remains perfectly sharp.
6. The Paper Shear Test
The final proof of your work is the test. A truly sharp tool should slice through a piece of loose magazine paper with zero resistance and a silent "hiss" sound.
Mastery Tip: Observe the cut edge under a magnifying glass. If you see any jagged fibers, there is a nick in the blade. This indicates that the tensile strength of the steel was compromised by a hidden knot or a staple in your carving wood.
THE TECHNICAL LEDGER
Maintenance is a lifelong commitment to your tools. To prevent oxidation and rust, always wipe your blades with a thin coat of camellia oil or mineral oil after every session. This creates a hydrophobic barrier that prevents moisture from reaching the iron molecules. For material variations, premium Japanese Blue Paper Steel holds an edge longer but is more brittle, while standard O1 tool steel is tougher and easier to sharpen but requires more frequent maintenance.
The Correction:
- The Rounder: If your edge is dull despite sharpening, you are likely rocking your wrist. Fix this by using a honing guide to lock in the angle.
- The Glaze: If your stone stops cutting, it is "loaded" with steel particles. Use a diamond flattening plate to refresh the surface and expose new abrasive grains.
- The Burn: If you see blue or straw-colored spots on the steel, you used a high-speed grinder and overheated it. You must grind past the "burnt" metal until you reach steel with the correct temper.
Store your tools in a tool roll made of natural canvas or a wooden chest. Avoid plastic boxes, as they can trap humidity and lead to flash rusting. Proper studio organization ensures your tools are always ready for any Daily Wood Carving Tasks that come your way.
THE FINAL REVEAL
Look at that edge! It is a shimmering line of pure potential. When you take these sharpened tools back to your workbench, you will feel the difference immediately. The wood will yield to your will, and those intricate details you have been struggling with will suddenly become effortless. Mastering the physics of sharpening is the "secret sauce" that separates a hobbyist from a true artisan. You have the knowledge, you have the rhythm, and now you have the sharpest kit in the neighborhood. Go make something beautiful!
STUDIO QUESTIONS
How often should I strop my tools?
For most Daily Wood Carving Tasks, you should strop your blade every 20 to 30 minutes of active carving. This maintains the polished apex and prevents the need for frequent, heavy regrinding on the whetstones.
Can I use sandpaper instead of whetstones?
Yes, the "scary sharp" method uses high-grit wet/dry sandpaper adhered to a flat glass surface. It is an excellent, cost-effective way to achieve professional results without the initial investment in high-end ceramic or water stones.
Why does my wood keep tearing?
Tearing usually occurs when you are carving against the grain or your tool is dull. A sharp blade severs the wood fibers cleanly, while a dull one crushes and pulls them, resulting in a fuzzy, unattractive surface finish.
What is the best oil for tool maintenance?
Camellia oil is the gold standard because it is acid-free, non-toxic, and does not stain the wood. Mineral oil is a great budget-friendly alternative that provides excellent protection against oxidation and moisture in the workshop.

