
Imagine the scent of freshly planed cedar mingling with the sharp, clean bite of beeswax polish. There is a specific, electric thrill that comes from running your thumb along the grain of a raw timber plank or feeling the substantial weight of heavy gauge linen. We are not just making trinkets; we are engineering an atmosphere. Crafting for Home Hospitality is the ultimate flex because it combines rigorous material science with the warmth of a welcoming hearth. When you hand a guest a coaster you turned yourself, you are offering them a piece of physics that has been tamed by your own hands. The tactile response of a well sanded surface or the perfect tension of a hand stitched seam communicates a level of care that store bought items simply cannot replicate. We are going to dive deep into the molecular structure of our materials, from the capillary action of wood stains to the tensile strength of natural fibers. Grab your safety glasses and a cup of coffee. We are about to turn your living room into a high performance sanctuary for everyone who walks through the door.
THE STUDIO KIT
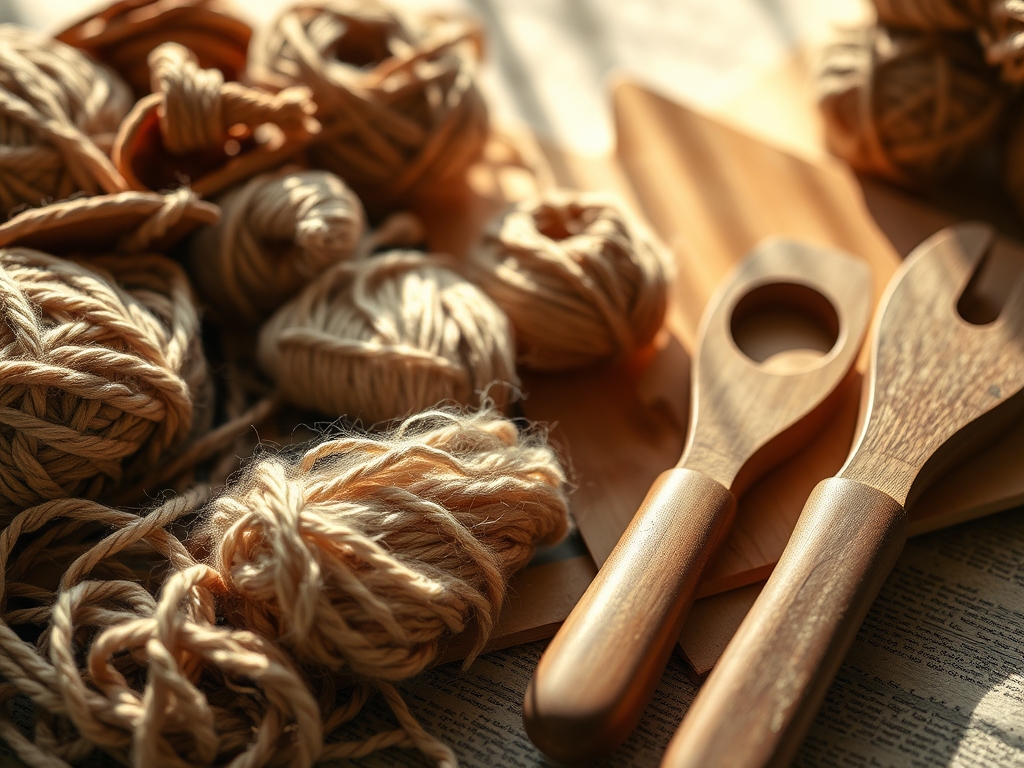
To master these hospitality projects, your workbench needs to be stocked with more than just glue and glitter. We are looking for precision and durability. You will need a bone folder for creating crisp, molecularly compressed creases in heavy cardstock or leather. A high quality rotary cutter with a tungsten carbide blade is essential for clean edges on textiles, preventing the fraying that occurs when dull shears crush fiber bundles. For wood based projects, keep a set of digital calipers handy to ensure your joinery is accurate to the millimeter. You will also need an awl for pre piercing holes in dense materials, ensuring that your needles do not snap under lateral stress.
Material Substitutions: If you cannot find solid brass hardware for your guest towel racks, look for high grade stainless steel. It offers similar tensile strength and corrosion resistance. Instead of expensive beeswax for wood sealing, a food grade mineral oil works beautifully to penetrate the porous cellular structure of the grain. If heavy linen is out of reach, a high thread count cotton canvas provides the necessary ply and durability for high traffic guest items.
THE TEMPO
The Maker's Rhythm is all about respecting the chemical and physical timelines of your materials. You cannot rush the evaporation rate of a solvent or the curing time of a polymer resin. Each project follows a three phase cycle: Preparation, Execution, and Curing. Preparation usually takes about thirty minutes of measuring and calibrating your tools. The Execution phase is where the "flow state" happens, lasting anywhere from one to three hours depending on the complexity of the assembly. Finally, the Curing phase is the most critical. This is when the internal bonds of your glues or finishes stabilize. For wood projects, this might take twenty four hours. For textiles, a quick steam set takes only minutes. Respect the clock, and your work will last for decades.
THE CORE METHOD
1. The Sculpted Cedar Guest Tray
We start by selecting a piece of aromatic cedar. Use your oscillating tool with a sanding attachment to smooth the surface. Focus on the grain direction to avoid tear out. By sanding with the grain, you ensure that the wood fibers lay flat rather than splintering.
Mastery Tip: Always use a tack cloth to remove micro dust before sealing. This prevents "pitting," where dust particles break the surface tension of your finish, creating a bumpy texture.
2. Hand Bound Welcome Journals
Using your bone folder, crease five sheets of 100lb paper. The physical act of folding breaks the internal fibers of the paper just enough to allow it to lay flat without losing its structural integrity. Use a saddle stitch with waxed linen thread for maximum durability.
Mastery Tip: Waxing your thread reduces friction as it passes through the paper, preventing "paper burn" and ensuring the holes do not enlarge over time due to mechanical stress.
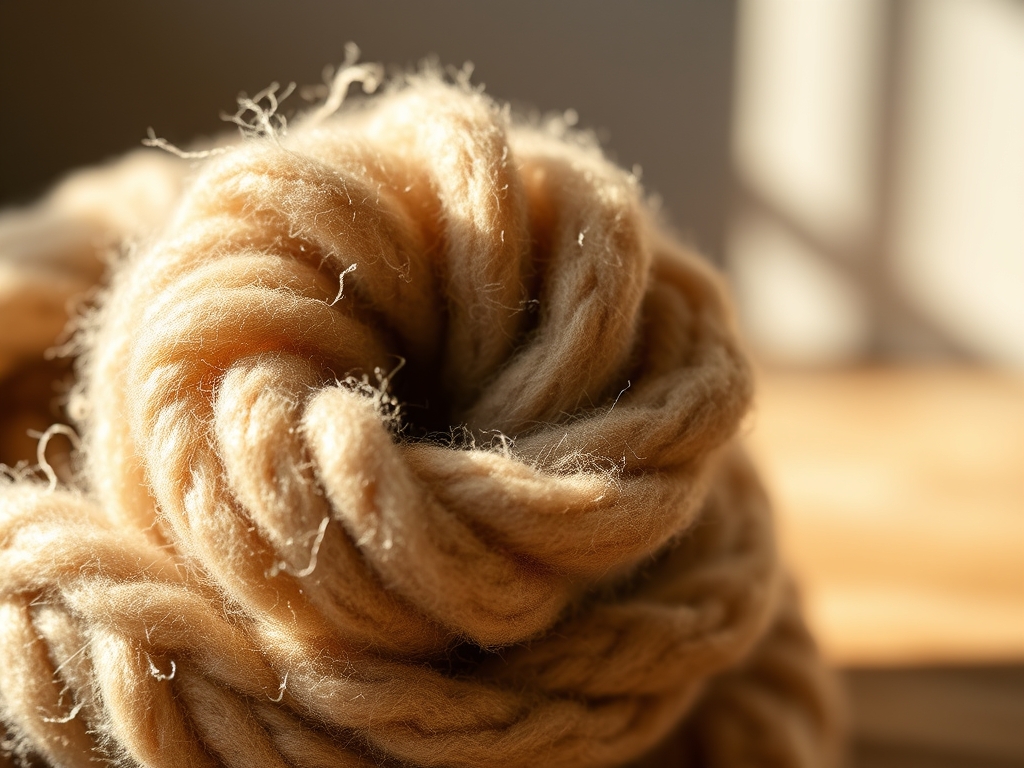
3. Tension Balanced Macrame Wall Hangings
Measure your cotton cord using a steel rule. When knotting, maintain consistent tensile pressure. If one knot is tighter than the rest, the entire piece will skew because the internal forces are no longer balanced across the width of the textile.
Mastery Tip: Use a heavy duty "S" hook to anchor your work. This allows you to use your body weight to maintain even tension, a concept known as ergonomic leverage.
4. Resin Inlay Coasters
Mix your two part epoxy in a vacuum chamber if possible to remove air bubbles. When pouring over wood slices, the resin will undergo an exothermic reaction, heating up as it bonds. Ensure the wood is bone dry to prevent moisture from turning into steam and clouding the finish.
Mastery Tip: Use a butane torch to lightly skim the surface after pouring. The heat lowers the viscosity of the resin, allowing trapped micro bubbles to rise and pop instantly.
5. Burnished Leather Key Fobs
Cut your vegetable tanned leather using a sharp utility knife. Use a burnishing tool and a small amount of gum tragacanth on the edges. The friction creates heat, which fuses the leather fibers together into a smooth, plastic like edge.
Mastery Tip: The science of burnishing relies on thermoplasticity. The collagen fibers in the leather soften with heat and then re harden into a dense, protective barrier against moisture.
6. Hammered Copper Place Cards
Use a jeweler's saw to cut small rectangles of 24 gauge copper sheet. Use a ball peen hammer to create a dimpled texture. This process, called work hardening, actually makes the copper stiffer and more durable by rearranging its crystalline structure.
Mastery Tip: If the copper becomes too brittle to work, perform an "anneal" by heating it with a torch until dull red and then quenching it in water to reset its ductility.
7. Weighted Linen Doorstops
Sew a simple cube of heavy linen, leaving a small gap. Fill it with a mix of dried lavender and washed pea gravel. The gravel provides the ballast needed to counteract the force of a swinging door, while the linen provides a soft exterior.
Mastery Tip: Use a flat fell seam for the construction. This double folded seam hides raw edges and provides three layers of fabric for the stitching to bite into, increasing the burst strength.
8. Etched Glass Apothecary Jars
Apply a vinyl stencil to a glass jar and use an acidic etching cream. The cream reacts with the silica in the glass, creating a permanent, frosted "tooth" on the surface. This is a chemical change, not a mechanical one, so it will never peel or fade.
Mastery Tip: Neutralize the acid with a base like baking soda and water. This stops the chemical abrasion immediately, ensuring your lines remain crisp and do not "creep" under the stencil.
THE TECHNICAL LEDGER
Maintenance & Longevity: To keep your hospitality crafts in peak condition, avoid direct UV exposure which can break down the molecular bonds in pigments and polymers. Periodically re oil wood items to maintain their hydrophobic properties.
Material Variations: For a sustainable twist, use reclaimed "sinker cypress" for trays or recycled PET felt for coasters. These materials offer high durability ratings while reducing the environmental footprint of your studio.
The Correction:
- The Splotchy Stain: This happens due to uneven porosity. Fix it by applying a pre stain conditioner to even out the absorption rate.
- The Frayed Edge: Usually caused by a dull blade. Fix it by using a fray check liquid to chemically bond the fibers at the cut site.
- The Cracked Resin: Often a result of pouring too thick in one go. Fix it by sanding the crack and "welding" it with a fresh, thin layer of UV resin.
Studio Organization: Store your paper and textiles in a climate controlled environment with a hygrometer to monitor humidity. High moisture levels can cause "hygroscopic expansion," warping your wood and sagging your fibers.
THE FINAL REVEAL
Look at that! Your home is now a masterclass in functional physics and high end aesthetics. These projects don't just look good; they feel substantial because you respected the science of the build. Your guests will feel the difference the moment they touch the burnished leather or see the crisp registration of your etched glass. You have successfully merged the role of a scientist with that of a stylist. Now, go pour a drink, set it on your resin inlay coaster, and enjoy the atmosphere you engineered.
STUDIO QUESTIONS
How do I prevent wood from warping over time?
Maintain a stable environment and seal all sides of the wood equally. This ensures that moisture exchange happens uniformly across the cellular structure, preventing the internal stresses that cause twisting or cupping.
What is the best way to clean handmade textiles?
Always check the fiber content first. For natural fibers like linen or cotton, hand washing in cool water prevents "fiber shock" and shrinkage. Air dry to maintain the tensile integrity of the weave.
Why did my leather burnishing turn out dull?
You likely didn't generate enough frictional heat. Increase your speed with the burnishing tool or use a motorized burnishing bit. The heat is what melts the natural waxes and fibers into a glossy finish.
Can I use regular glue for resin inlays?
No, you need a structural adhesive or the resin itself to create a mechanical bond. Regular white glue lacks the chemical properties to bond with non porous resin, leading to eventual delamination and failure.
How do I keep my rotary blades sharp longer?
Only cut on a self healing mat. These mats are designed to allow the blade to pass between the plastic fibers rather than dulling the edge against a hard, unforgiving surface like wood or metal.

