
Imagine the scent of a high end tack room meeting the crisp, electric energy of a fresh studio morning. That is the sensory playground we are stepping into today. When you hold a piece of vegetable tanned hide, you are feeling a complex network of collagen fibers that have been preserved through ancient chemistry. We are not just making accessories; we are engineering small scale masterpieces. Creating Handmade Leather Keychains is the ultimate gateway drug into the world of leathercraft because it forces you to respect the material grain while rewarding you with something you touch every single day. Feel that weight? That is the density of the hide ready to be transformed. The leather is cool to the touch but warms quickly against your palm, a sign of its porous, organic nature. We are going to take that raw, structural potential and refine it into five distinct silhouettes that marry form and function. Grab your coffee and clear your workbench; we are about to turn tactile physics into wearable art.
THE STUDIO KIT
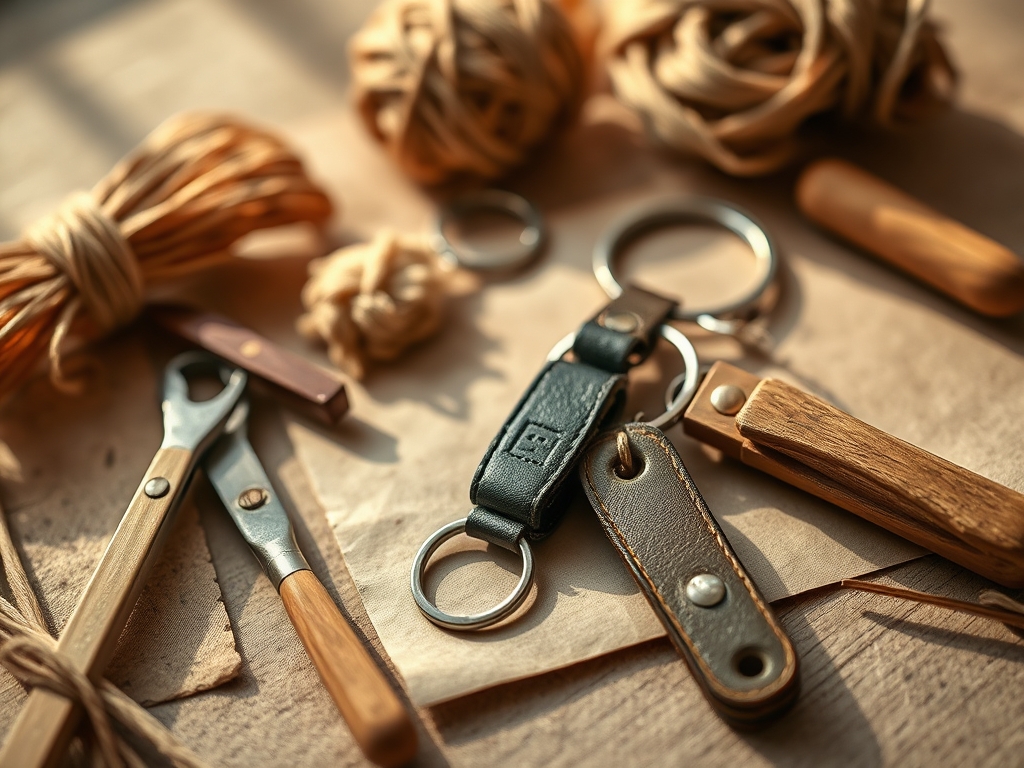
To master Handmade Leather Keychains, your toolkit needs to be as sharp as your wit. You will need a rotary cutter or a fresh X-Acto blade for precision lines. A metal safety ruler is non negotiable to prevent the blade from jumping the track and ruining your grain. For the edges, a wood burnisher and a small amount of gum tragacanth will help you achieve that glass like finish by compressing the loose fibers. You will also need a scratch awl for marking your stitch lines and a poly mallet to drive your punches without deforming the tool heads.
In terms of materials, we are looking for a 4 to 5 ounce vegetable tanned leather. This weight provides the perfect balance of flexibility and structural integrity. If you cannot find veg-tan, a chrome-tanned latigo is a solid material substitution, though it will not take a burnish as easily. For the hardware, stick to solid brass or stainless steel split rings to ensure the tensile strength matches the longevity of the leather. If you are feeling adventurous, you can substitute the traditional leather for cork fabric or recycled rubber, but be aware that these materials lack the same fiber density and may require reinforced stitching to prevent tearing under the weight of heavy keys.
THE TEMPO
The maker's rhythm is all about the flow of energy between the hand and the hide. For a single keychain, expect a 45 to 60 minute session. The first fifteen minutes are dedicated to the "Deep Focus" phase: measuring, marking, and the initial cut. This is where precision matters most because a millimeter off at the start becomes a centimeter off by the finish.
The middle thirty minutes are the "Tactile Flow." This is when you are punching holes, skiving edges to reduce bulk, and performing the initial assembly. The final fifteen minutes are the "Refining Phase," where you burnish the edges until they shine. This rhythm allows the leather to rest between treatments, preventing the fibers from becoming overly saturated if you are using dyes or edge paints. It is a meditative cycle of high tension focus followed by repetitive, soothing motions.
THE CORE METHOD
1. The Classic Tapered Strap
Start by cutting a strip of leather approximately one inch wide and five inches long. Use your calipers to mark a subtle taper toward the end that will loop through the hardware. This reduces the bulk at the fold point, ensuring the keychain sits flat in your pocket.
Mastery Tip: Understand tensile strength. By tapering the leather, you are concentrating the stress on a smaller surface area. Always ensure your thinnest point is still at least 1/2 inch wide to prevent the collagen fibers from snapping under the weight of a heavy key ring.
2. The Geometric Shield
This cut involves a wider body that narrows sharply at the top. Use a French curve or a coin to trace rounded corners at the base. This shape provides more surface area for custom stamping or embossing, making it a favorite for personalized gifts.
Mastery Tip: This design relies on structural integrity. Because the shape is wider, it is prone to "cupping" or curling. To prevent this, apply a light coat of flesh side conditioner to the back of the leather to tighten the fibers and keep the piece dimensionally stable.
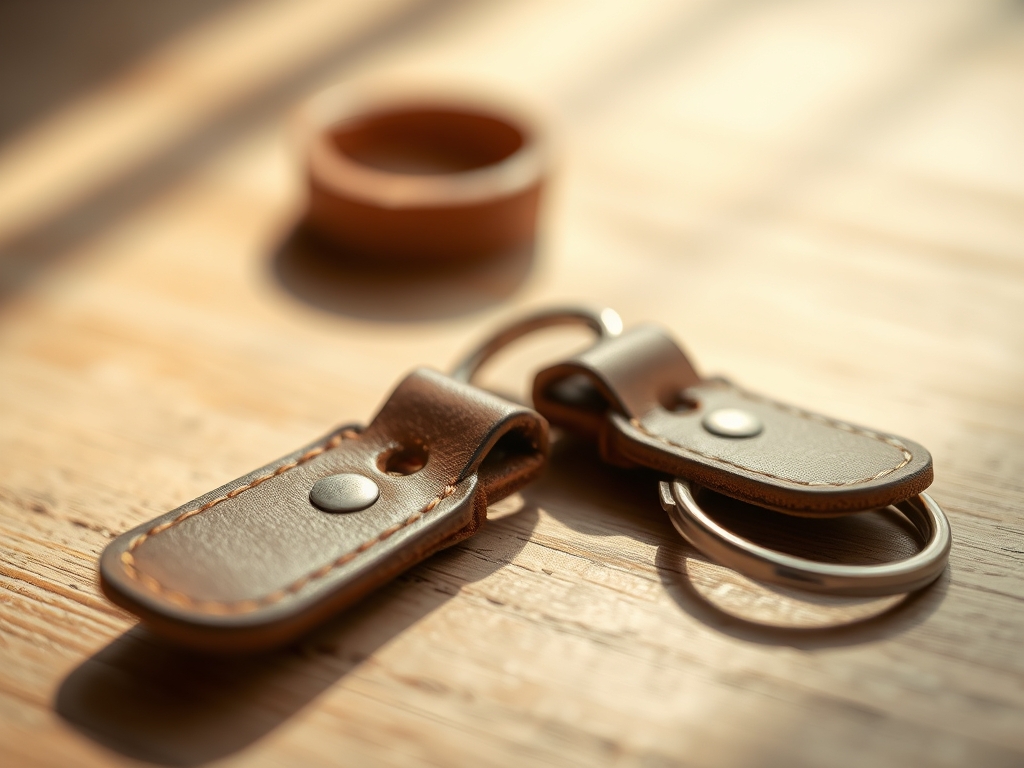
3. The Minimalist Loop
The simplest of the Handmade Leather Keychains, this is a straight strip folded over and secured with a single Chicago screw or rivet. It is sleek, industrial, and highlights the natural beauty of the grain.
Mastery Tip: Pay attention to capillary action. When you apply edge burnishing fluid to a long, straight cut, the liquid will travel along the fibers. Apply sparingly to avoid staining the face of the leather, which can happen if the fluid seeps too deep into the porous edges.
4. The Teardrop Pivot
This cut requires a bit more finesse with the blade. You are aiming for a bulbous bottom that curves elegantly into a narrow neck. This shape is ergonomic, fitting perfectly into the curve of your thumb when you reach for your keys.
Mastery Tip: Use the physics of friction. When burnishing a curved edge like the teardrop, vary your speed. The heat generated by the friction of the wood burnisher is what melts the waxes and fibers together to create a sealed, waterproof edge.
5. The Braided Tassel
Cut three narrow strips but leave them attached at the top for about an inch. Braid the strips tightly and secure the bottom with a small wrap of leather or a heavy duty stitch. This adds a three dimensional element that is highly tactile.
Mastery Tip: This design utilizes ply strength. By braiding three thinner strips, you create a composite structure that is significantly stronger than a single strip of the same total thickness. It also increases the surface area, making the keychain easier to find by touch alone inside a dark bag.
THE TECHNICAL LEDGER
Maintenance & Longevity: To keep your leather from becoming brittle, apply a neatsfoot oil or beeswax cream every six months. This replenishes the natural oils that evaporate over time, especially with the constant friction of daily use.
Material Variations: For a premium feel, try Shell Cordovan, which is sourced from the fibrous flat muscle of a horse hide. It is virtually non-porous and develops a mirror-like patina. For a sustainable route, look for pineapple leather (Piñatex), though you must use a synthetic edge sealer since it will not burnish naturally.
The Correction:
- The Ragged Edge: If your cut looks fuzzy, your blade is dull. Fix it by sanding the edge with 400 grit sandpaper before burnishing.
- The Loose Rivet: If your hardware wiggles, the hole was punched too large. Fix it by adding a small leather "washer" on the inside to take up the slack.
- The Discolored Grain: If you get a water spot, do not spot clean. Dampen the entire surface evenly and let it dry slowly away from direct heat to reset the surface tension.
Studio Organization: Store your leather flat in a climate controlled environment. Never roll your scraps tightly, as this can cause the grain to "pipe" or wrinkle permanently. Keep your hardware in anti tarnish bins to prevent oxidation from transferring to your leather stock.
THE FINAL REVEAL
There is nothing quite like the snap of a finished rivet or the first time you slide your keys onto a piece of hardware you secured yourself. Your new Handmade Leather Keychains are more than just utility items; they are a testament to your precision and understanding of organic materials. As you use them, the leather will darken and soften, absorbing the oils from your hands and telling the story of your daily adventures. You have successfully navigated the physics of the hide, from fiber density to surface tension. Go ahead, give them a toss. That solid, reassuring thud is the sound of quality craftsmanship.
STUDIO QUESTIONS
What is the best leather weight for keychains?
A weight of 4 to 5 ounces (approx 1.6 to 2.0mm) is ideal. It provides enough thickness for a professional edge burnish while remaining flexible enough to loop through hardware without cracking the grain.
Can I use a regular craft glue for assembly?
Use a dedicated contact cement like Barge or a water based leather adhesive. These create a flexible, permanent bond that moves with the leather fibers, whereas standard white glues will crack and peel under mechanical stress.
Why do my edges look fuzzy after burnishing?
Fuzzy edges usually mean the fibers were not cut cleanly or the leather is too soft. Sand the edges with progressively finer sandpaper (200 to 600 grit) before applying your burnishing agent to flatten the collagen network.
How do I prevent the leather from stretching?
All leather stretches, but you can minimize it by cutting your pieces parallel to the spine of the hide. This area has the tightest fiber density and the least amount of natural give compared to the belly.
What is the difference between chrome and veg-tan?
Vegetable tanned leather uses natural tannins and can be carved or burnished. Chrome tanned leather uses chemicals, making it softer and more heat resistant, but it generally requires edge paint rather than traditional friction burnishing.

