
Imagine the smell of fresh pine and the tactile grit of raw canvas beneath your fingertips. There is a specific kind of magic in the friction of a sharp blade slicing through heavy cardstock. It is the physics of creation. When we talk about Crafting for Budget Living, we are not just saving money; we are mastering the structural integrity of our environment. You can feel the potential energy stored in a roll of copper wire or the way a bone folder compresses cellulose fibers to create a perfect, permanent crease. We are going to take the mundane and turn it into high-end decor by manipulating the molecular bonds of glue and the tensile strength of natural fibers. Grab your coffee, because we are about to turn your living room into a high-performance design studio without breaking the bank.
THE STUDIO KIT

To execute these projects with professional precision, you need a kit that respects the science of materials. Start with a rotary cutter and a self-healing mat; the circular blade distributes pressure evenly to prevent the fraying of fabric or the tearing of thin veneers. You will also need a bone folder for mechanical creasing and a set of calipers to ensure your measurements are mathematically consistent. For adhesives, move beyond school glue and invest in a neutral-pH PVA glue, which offers superior archival stability and prevents the yellowing of porous surfaces over time.
Material Substitutions: If you cannot find high-gauge brass wire for structural accents, stripped copper electrical wire offers excellent malleability and a similar metallic sheen. Instead of expensive hardwood planks, use Baltic birch plywood. Its cross-laminated layers provide exceptional dimensional stability, meaning it will not warp when exposed to the humidity changes common in a residential kitchen or bathroom.
THE TEMPO
The "Maker's Rhythm" is all about managing the chemical and physical transitions of your materials. You cannot rush the evaporation rate of a solvent or the curing time of a polymer. Each project follows a three-phase tempo: The Prep (20 percent), The Execution (50 percent), and The Cure (30 percent).
In the Prep phase, you are calibrating your tools and grain directions. During Execution, you enter a flow state where your fine motor skills synchronize with the resistance of the material. Finally, the Cure is the most disciplined phase. It is the period where internal stresses settle and bonds reach their maximum tensile strength. Respecting this timeline ensures that your "budget" decor does not look like a temporary craft, but a permanent fixture of your home.
THE CORE METHOD
1. The Architectural Sconce: Paper and Light
We are using heavy-weight watercolor paper, specifically 300gsm, to create a geometric light cover. The high cotton content provides a beautiful diffraction of light while maintaining enough rigidity to stand unsupported. Use your bone folder to score the lines before folding; this breaks the surface tension of the fibers without snapping the sheet.
Mastery Tip: Understand capillary action when using liquid dyes on the edges. If you touch a wet brush to the paper, the fibers will pull the pigment upward. Control this by using a "dry brush" technique to ensure the color stays localized to the structural seams.
2. Upcycled Glass Vases with Stone Texture
Transform glass jars into ceramic-style vessels by mixing acrylic paint with baking soda. This creates a chemical reaction that increases the viscosity of the paint, resulting in a gritty, stone-like finish. Apply the mixture in thin layers to avoid sagging under the force of gravity.
Mastery Tip: The science here is all about surface energy. Glass is non-porous and has low surface energy, which makes it hard for paint to stick. Lightly scuff the glass with 220-grit sandpaper to create "mechanical teeth" that allow the primer to grip the surface.
3. The Minimalist Leather Catch-all
Using vegetable-tanned leather scraps, we will create a structural tray. Leather is a protein-based fiber with a distinct "flesh side" and "grain side." By dampening the leather, you temporarily break the hydrogen bonds between the collagen fibers, allowing you to mold the shape as it dries.
Mastery Tip: Use a burnishing tool on the edges. The friction generates heat, which melts the natural waxes and fibers together, creating a sealed, glassy edge that prevents the leather from delaminating over time.
4. Floating Botanical Frames
Sandwich pressed botanicals between two sheets of recycled glass. The key is to manage the clamping pressure so you do not crack the glass while ensuring the organic material is compressed enough to prevent oxygen from reaching the cells, which slows down the oxidation and browning of the leaves.
Mastery Tip: Use a small amount of clear silicone adhesive at the corners. Silicone remains flexible after curing, which allows for the thermal expansion of the glass during temperature swings in your home without causing the adhesive bond to fail.
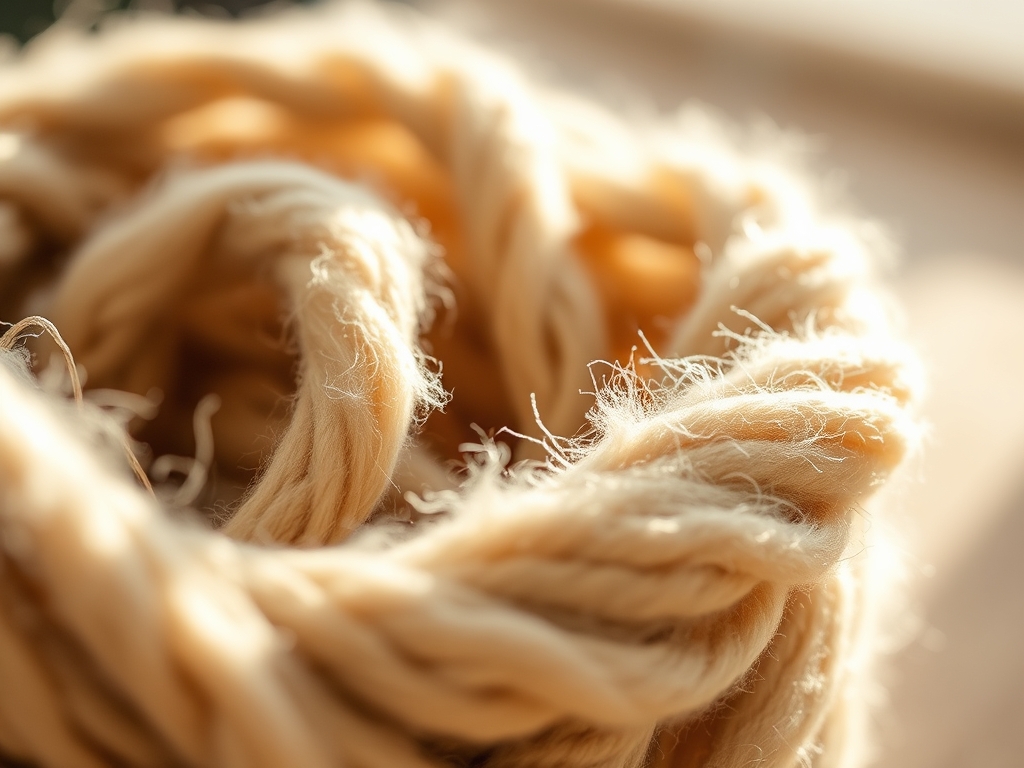
5. Industrial Rope Shelving
This project utilizes the friction-locking power of knots. By threading heavy-duty sisal rope through pre-drilled holes in pine boards, you create a load-bearing structure. The weight of the boards actually increases the grip of the rope against the wood, stabilizing the entire unit.
Mastery Tip: Pay attention to the lay of the rope. Most ropes are twisted in a specific direction. If you twist against the lay, you decrease the rope's structural integrity. Always coil and knot in the direction of the twist to maintain maximum load-bearing capacity.
THE TECHNICAL LEDGER
Maintenance & Longevity: To keep your budget decor looking premium, dust with a microfiber cloth to avoid micro-scratches on finished surfaces. For leather items, apply a light coat of neatsfoot oil every six months to maintain fiber elasticity and prevent cracking.
Material Variations: For a sustainable twist, swap virgin paper for handmade recycled hemp paper, which has a higher tear resistance. If you want a premium look, use solid brass hardware instead of plated steel; the solid metal will develop a natural patina that adds value over time.
The Correction:
- Bubbling Paint: This usually happens due to "outgassing" or trapped moisture. Fix it by sanding the area flat and reapplying in a low-humidity environment.
- Uneven Folds: If your paper creases are crooked, your grain direction is likely perpendicular to the fold. Always align your primary structural folds with the grain direction of the paper.
- Weak Adhesive Bonds: If a joint fails, it is often due to "starved joints" where the material absorbed all the glue. Apply a thin "size" coat of glue first, let it dry, then apply the final bonding coat.
Studio Organization: Store your paper and textiles flat in a climate-controlled space. Exposure to UV light causes photodegradation, which weakens fibers and fades pigments. Use archival-safe bins to prevent acid migration between different material types.
THE FINAL REVEAL
Look at that! You have successfully manipulated the laws of physics to create a home that looks like a high-end gallery. Those sconces are diffusing light with the precision of a professional installation, and your stone-textured vases have the weight and presence of expensive stoneware. Crafting for Budget Living is not about settling for less; it is about knowing your materials so well that you can make them perform like luxury goods. You have mastered the tensile strength of rope, the porosity of paper, and the viscosity of polymers. Your space is now a testament to your technical skill and your brilliant eye for design.
STUDIO QUESTIONS
How do I prevent my DIY paint from peeling?
Ensure the surface is clean and de-glossed. Use a high-quality primer to create a chemical bond between the substrate and the topcoat. This increases adhesion strength and prevents delamination under environmental stress or frequent handling.
What is the best way to cut thick leather?
Use a fresh blade in a utility knife and make multiple light passes rather than one heavy cut. This maintains control over the kerf and prevents the leather from stretching or distorting during the mechanical shearing process.
Can I use regular glue for home decor?
Standard white glue lacks the shear strength required for structural home decor. Opt for a technical adhesive like E6000 for non-porous surfaces or a high-tack PVA for wood and paper to ensure long-term durability.
Why did my wood shelf warp?
Wood is hygroscopic, meaning it absorbs moisture from the air. If one side is sealed and the other is not, the uneven moisture absorption causes the wood to bend. Always seal all sides of a board equally.

