
Close your eyes and listen to the rhythmic scrape of a bone folder against heavy-weight cardstock. It is not just a sound; it is a frequency that recalibrates your nervous system. In a world moving at the speed of fiber optics, Crafting for Mindful Living is your tactical retreat into the physical realm. When you grip a polished walnut handle or feel the oily residue of high-quality wool roving, you are engaging in a sensory dialogue with physics. We are trading the digital glow for the tensile strength of linen thread and the predictable resistance of seasoned timber. This is about more than just making pretty things; it is about the deliberate, slow-motion mastery of your environment. We are going to dive into six projects that demand your full presence, using tools that require respect and materials that have their own stubborn personalities. Grab your coffee, put your hair up, and let us get into the grit of the maker's life.
THE STUDIO KIT

To master these projects, you need a kit that respects the structural integrity of your medium. Forget the flimsy plastic scissors. We are talking about high-carbon steel shears for clean cuts that do not crush the fibers. You will need a digital caliper for precision measurements down to the millimeter, ensuring your joints and seams are mathematically sound. For leather and heavy textiles, a diamond-tipped awl is non-negotiable for creating pilot holes without tearing the grain. If you are working with paper, a teflon bone folder prevents the "burnishing" shine that cheap plastic leaves behind.
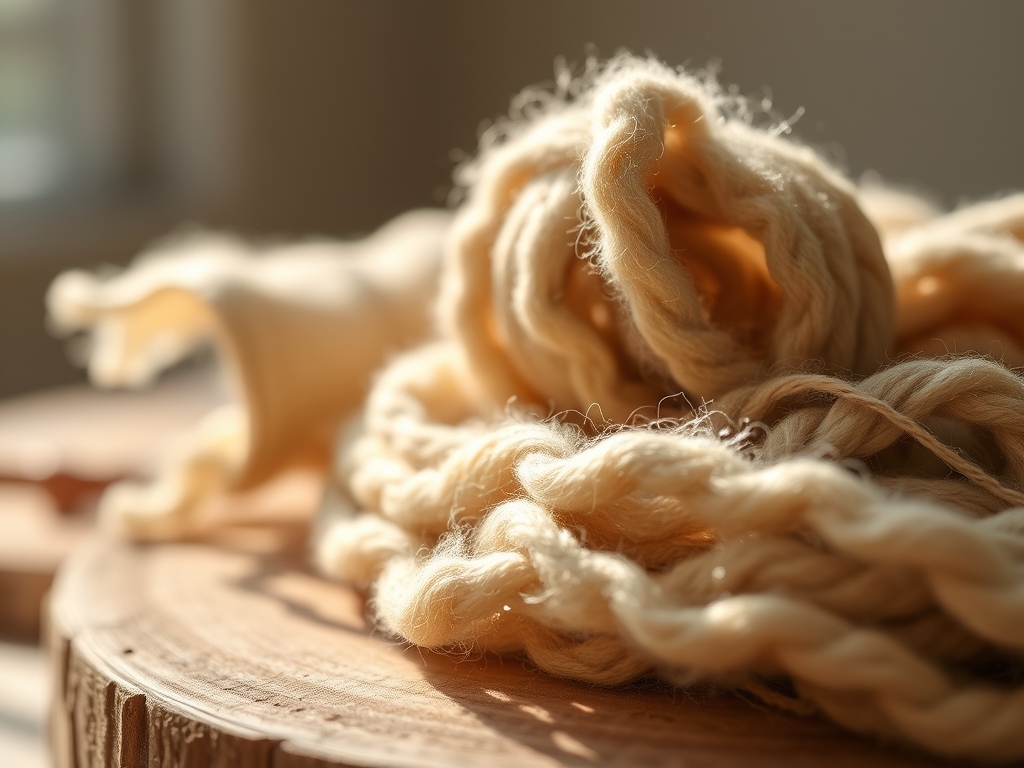
Material Substitutions: If you cannot source vegetable-tanned leather, look for cork fabric; it offers a similar density and durability without the animal byproduct. If merino wool is too pricey for your first go, a high-twist cotton cord provides excellent tensile strength and a crisp, modern aesthetic. Always prioritize natural fibers over synthetics; the way they breathe and age is essential for long-term material longevity.
THE TEMPO
The "Maker's Rhythm" is a biological state where your heart rate syncs with your physical output. These projects are not meant to be finished in a frantic afternoon. We are looking at a time investment of twelve to twenty hours per piece. The first phase is always Material Acclimation, where you let your wood or paper sit in your studio environment for 24 hours to reach moisture equilibrium. Then comes the Layout and Calibration phase, which takes roughly three hours of focused measuring. The Execution Phase is the longest, often spread over several days to prevent hand fatigue and maintain ergonomic health. Finally, the Curing and Finishing stage requires patience; oils must polymerize and glues must set beyond the surface level to ensure a professional result.
THE CORE METHOD
1. The Hand-Bound Leather Journal
Start by measuring your paper grain. Paper is anisotropic, meaning it has different properties in different directions. Always fold with the grain to prevent the fibers from cracking. Use your calipers to mark hole spacing on your leather cover, then pierce with your awl.
Mastery Tip: Understand capillary action when choosing your ink or glue. If your paper is too porous, ink will bleed through the fibers via microscopic channels. Select a paper with a high sizing content to keep your thoughts crisp on the page.
2. Slow-Stitch Sashiko Coasters
Layer your reclaimed indigo fabrics. Use a rotary cutter and a self-healing mat to ensure perfectly square edges. The beauty here is in the geometric precision of the running stitch.
Mastery Tip: Maintain consistent thread tension. If you pull too tight, you will cause puckering in the fabric as the fibers compress. The goal is to have the thread sit flush against the surface, allowing the tactile texture to shine without distorting the weave.
3. The Carved Walnut Spoon
Select a blank with a straight grain direction. Use a hook knife to hollow out the bowl, working from the edges toward the center. This project is a masterclass in wood density and resistance.
Mastery Tip: Pay attention to shear strength. When carving, always cut "downhill" with the grain. If you go against it, you risk tear-out, where the wood fibers rip away in chunks rather than clean curls.
4. Macrame Wall Hanging with Copper Accents
Measure your cord lengths using a 4x multiplier. Incorporate copper piping by using a tubing cutter for clean, burr-free edges. The weight of the copper provides a beautiful gravitational anchor for the soft cotton.
Mastery Tip: This project relies on friction physics. Every knot is a balance of compression and surface area. Ensure your knots are seated firmly to prevent structural creep over time as the piece hangs.
5. Botanical Cyanotype Prints
Coat your heavy-weight watercolor paper with the sensitizing solution in a low-light environment. Arrange your botanical specimens, considering their opacity and how they will block UV light.
Mastery Tip: This is a chemical reaction involving UV-induced molecular change. The longer the exposure, the deeper the Prussian blue. Use a heavy glass plate to ensure intimate contact between the plant and the paper, preventing "ghosting" caused by light diffraction.
6. Hand-Poured Soy Wax Candles with Essential Oils
Heat your wax to exactly 185 degrees Fahrenheit. This is the "sweet spot" where the molecular bonds of the wax expand enough to fully incorporate the fragrance oils.
Mastery Tip: Understand the viscosity of the wax as it cools. If you pour too cold, you get "frosting" or poor glass adhesion. Pouring at 135 degrees ensures a smooth surface and a consistent crystallization pattern.
THE TECHNICAL LEDGER
Maintenance & Longevity: Treat your wooden tools with food-grade mineral oil to prevent desiccation. For textiles, avoid direct sunlight to prevent UV degradation of natural dyes.
Material Variations: For a premium feel, swap standard cotton for Egyptian Giza cotton (long-staple fibers). For sustainability, use FSC-certified timber or recycled "ocean plastic" yarns which offer surprising tensile resilience.
The Correction:
- The Over-Tightened Stitch: If your fabric puckers, use a seam ripper to back out three stitches and re-tension using a laying tool.
- The Cracked Wood: If your spoon blank checks, fill the small fissure with a mix of wood glue and fine sawdust to create a seamless structural patch.
- The Wax Sinkhole: If your candle develops a crater, use a heat gun on a low setting to remelt the top 5mm of wax for a self-leveling fix.
Studio Organization: Store your paper and leather flat in a humidity-controlled cabinet. Use acid-free tissue paper between finished prints to prevent acid migration and yellowing.
THE FINAL REVEAL
Look at what you have built. Your hands are likely a bit sore, and your brain is probably buzzing with the satisfaction of a job done right. These six projects are your roadmap to a more grounded existence. You have navigated the physics of friction, the chemistry of light, and the geometry of design. The finished pieces are not just objects; they are physical evidence of your patience and your ability to master the material world. Display them with pride, knowing exactly how much tensile strength and heart went into every single millimeter.
STUDIO QUESTIONS
What is the best way to prevent wood from splitting?
Maintain consistent internal moisture by storing wood in a stable environment. Always drill pilot holes before inserting screws to reduce hoop stress on the grain fibers. Apply a high-quality oil finish to seal the surface against rapid humidity changes.
Why does my thread keep snapping during hand-stitching?
You likely have a tension imbalance or are using a needle with a sharp-edged eye. Use beeswax to lubricate the thread, reducing friction as it passes through the fabric. This also increases the thread's tensile durability during the sewing process.
How do I achieve a professional finish on leather edges?
Use a beveling tool to remove the sharp corner, then apply a burnishing agent like gum tragacanth. Vigorously rub the edge with a wooden slicker; the heat generated by friction fuses the fibers into a smooth, glossy, and durable edge.
Can I use any paper for cyanotypes?
No, you need paper with high wet strength and neutral pH. Look for cold-pressed watercolor paper that can withstand repeated soaking without the fibers disintegrating. The surface texture also affects how the chemical solution settles into the porous layers.

