
Imagine the feeling of shedding the heavy, static weight of the office as you sink into your favorite chair. Your hands reach for the cool, smooth surface of a polished birch hook. This is the shift from digital fatigue to tactile reality. Engaging in Daily Crochet Rituals transforms your evening from a passive slump into a deliberate act of structural creation. It is about the friction of the fiber against the skin and the rhythmic tension that stabilizes your heart rate. Within the first sixty words of picking up that yarn, your brain switches from high-stress beta waves to the calming, repetitive flow of alpha waves.
The air in your studio space feels different now. It smells of cedar and natural wool lanolin. You are not just making a scarf; you are engineering a textile masterpiece one loop at a time. The physical resistance of the yarn provides a grounding sensory feedback that screens simply cannot replicate. As you prepare to execute these seven specific rows, remember that you are the architect of this fabric. Every pull of the hook is a calculation of torque and tensile strength. Let us dive into the physics of the stitch and reclaim your evening through the art of the hook.
THE STUDIO KIT
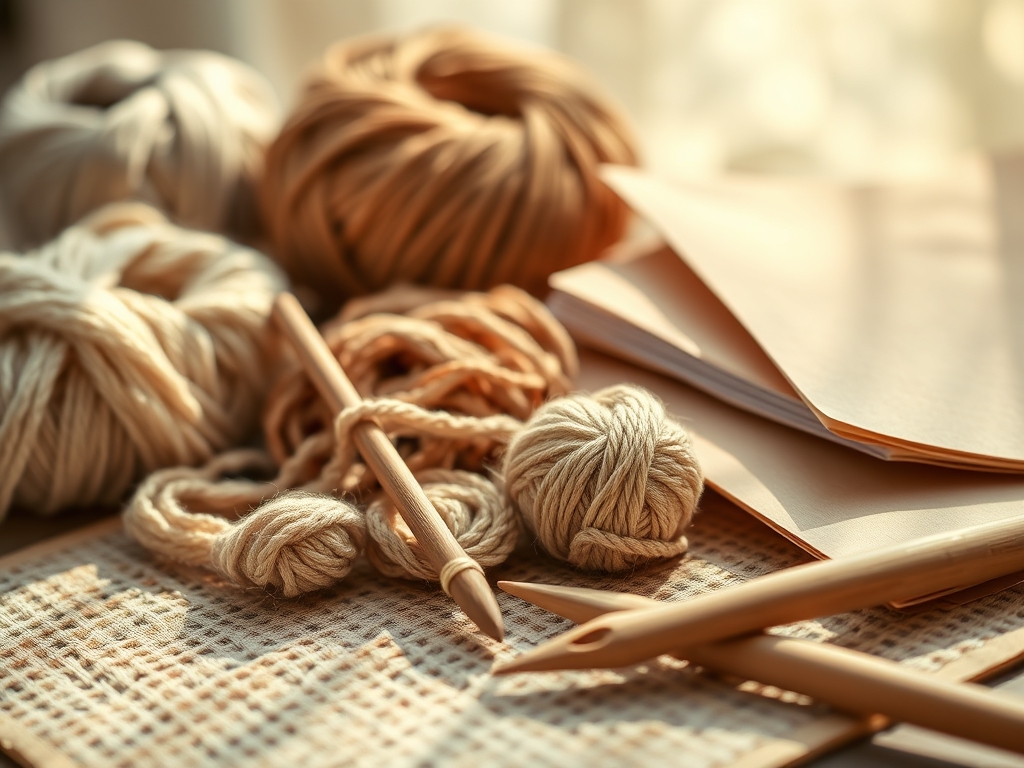
To master your Daily Crochet Rituals, you need more than just "yarn and a needle." You need a curated kit that respects the physics of fiber. Start with a high-tensile merino wool or a mercerized cotton. Mercerization is a chemical process that increases the surface area of the fiber, giving it a lustrous sheen and superior dye affinity. Use a hook with an ergonomic handle to prevent carpal tunnel strain; look for one with a thumb rest that allows for a "pencil grip" or "knife grip" depending on your wrist anatomy.
You will also need a pair of precision stork shears for clean cuts that prevent fraying at the microscopic level. A retractable measuring tape is essential for checking your gauge, which is the number of stitches per inch that determines the final dimensions of your work. For material substitutions, if you find wool too abrasive, opt for bamboo silk. Bamboo fibers are naturally antimicrobial and have a high capillary action, meaning they wick moisture away from your hands as you work. Always keep a bent-tip tapestry needle nearby for weaving in ends; the slight curve allows the needle to glide under the stitches without piercing the structural integrity of the yarn plies.
THE TEMPO
The Maker's Rhythm is a biological phenomenon where your breathing syncs with the movement of your hands. For these seven rows, expect to invest approximately forty-five minutes of focused "flow state" time. The first five minutes are the "Calibration Phase." This is where you check your tension against the calipers of your fingers. If you are stressed, your stitches will be tight and rigid; if you are relaxed, they will be fluid and supple.
The middle thirty minutes represent the "Production Phase." This is where the repetitive nature of the Daily Crochet Rituals provides the most cognitive benefit. You are moving through the rows with a steady cadence. The final ten minutes are the "Refinement Phase," where you inspect the grain direction of your stitches and ensure the edges are perfectly vertical. This temporal structure ensures that you finish your session feeling accomplished rather than exhausted.
THE CORE METHOD
1. The Foundation Chain and Tension Set
Begin by creating a slip knot with enough tail length to weave in later. When you pull the yarn through the loop to create your chain, maintain a consistent surface tension. If the chain is too tight, the bottom of your work will curl like a bowstring. Mastery Tip: Use a hook one size larger than your main hook for the foundation chain to account for the lack of vertical support in the first row, ensuring the base remains elastic.
2. Establishing the Structural Base
Row one is where you define the structural integrity of the piece. Work into the back bumps of the chain rather than the top loops. This creates a finished edge that mirrors the top of your work. Mastery Tip: Working into the back bump utilizes the torsional strength of the yarn, preventing the bottom edge from stretching out of shape over time.
3. The Turning Chain Elevation
At the end of row one, you must "turn" your work. The number of chains you make here must match the height of your stitch to prevent "waisting" or "bulging" at the edges. Mastery Tip: Think of the turning chain as a load-bearing pillar. If it is too short, the fabric will compress; if it is too long, it creates a gap that weakens the peripheral border.
4. Navigating the V-Stitch Alignment
In row three, focus on inserting your hook under both loops of the "V" from the previous row. This creates a double-shear connection, distributing the weight of the fabric evenly across the stitch. Mastery Tip: Observe the ply twist of your yarn. If you notice the yarn unravelling as you stitch, you may be rotating your hook in a way that fights the natural "S" or "Z" twist of the fibers.
5. Managing the Mid-Point Pivot
By row four, you are at the heart of the ritual. This is where you check your stitch count religiously. One lost stitch at this stage will cause a diagonal shift in the grain. Mastery Tip: Use a stitch marker or a small jeweled clip to mark the first stitch of every row. This provides a visual "stop-gap" that prevents the common error of skipping the final stitch of a row.
6. The Density Shift
In row six, experiment with your tension to create a slightly denser fabric. This acts as a decorative "rib" and adds dimensional stability to the center of the piece. Mastery Tip: Increasing tension slightly increases the fiber density per square inch, which makes the fabric more resistant to pilling and abrasion during daily use.
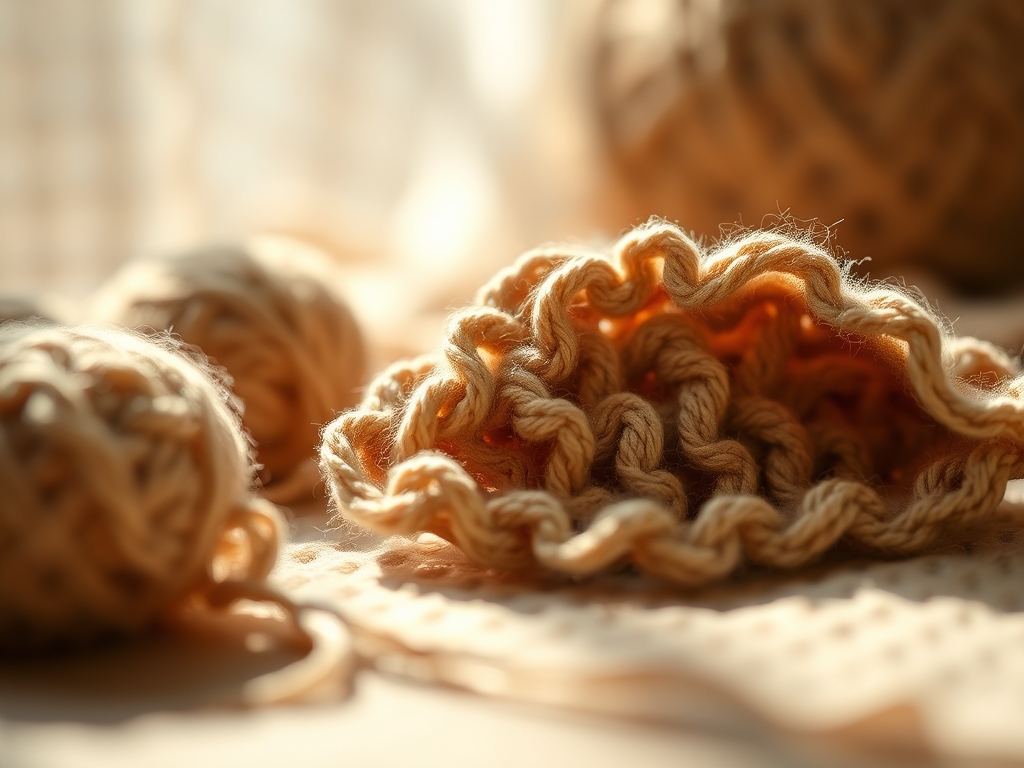
7. The Final Burnish and Lock
The seventh row is your victory lap. Work these stitches with a light touch to allow the fabric to "breathe." When you reach the end, cut the yarn leaving a six-inch tail. Mastery Tip: Pull the tail through the final loop and "burnish" the knot by rolling it between your thumb and forefinger. This heat-friction helps the fibers lock together, preventing the knot from sliding.
THE TECHNICAL LEDGER
To maintain the longevity of your project, never hang it; gravity will stretch the fibers and ruin the gauge. Store your work flat in a breathable cotton bag. If you are using sustainable fibers like recycled hemp, be aware that they have less "memory" than wool and may require blocking with a steam iron to hold their shape.
The Correction: Common Technical Failures
- The Hourglass Effect: This happens when your tension tightens as you get tired. Fix: Periodically drop your hands and shake out your wrists to reset your muscle memory.
- The Jagged Edge: Caused by missing the last stitch of the row. Fix: Use a bone folder or the side of your hook to "tease" the stitches into alignment if they look uneven.
- Fiber Splitting: Caused by a hook that is too sharp or yarn with a low twist count. Fix: Switch to a "tapered" hook head rather than an "inline" head to navigate between the plies more smoothly.
THE FINAL REVEAL
Look at what you have built! Those seven rows are more than just a fragment of fabric; they are a physical manifestation of your transition from the "work self" to the "creative self." The texture is rich, the edges are crisp, and the tactile feedback is incredibly satisfying. You have successfully navigated the physics of tension and the geometry of loops. This piece now carries the calm energy of your evening ritual, ready to be expanded tomorrow.
STUDIO QUESTIONS
Why does my crochet work always curl at the bottom?
This is usually caused by a foundation chain that is tighter than the subsequent rows. The tensile stress of the upper rows pulls on the base. To fix this, use a hook one size larger for your starting chain.
What is the best yarn for beginners to see their stitches?
Choose a high-twist, light-colored cotton or acrylic blend. These fibers are less "fuzzy," allowing you to clearly see the "V" shape and the "post" of each stitch, which is essential for maintaining an accurate stitch count.
How do I stop my edges from looking messy?
Ensure you are placing the last stitch of every row into the top of the turning chain from the row below. Use a stitch marker to identify this specific location until your "maker's eye" is trained to see it.
Does the hook material really matter for my hands?
Yes. Wood and bamboo hooks offer more friction, which is great for slippery yarns. Metal hooks are faster but can be cold and hard on the joints. Ergonomic rubber grips provide the best force distribution for long sessions.

