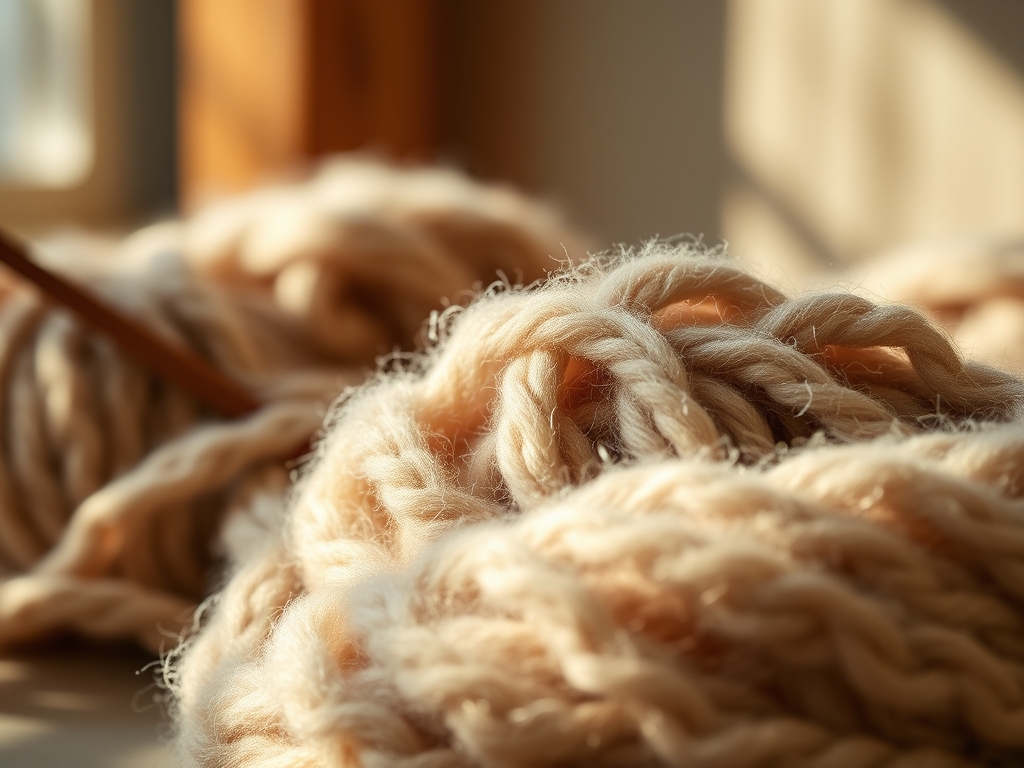
Imagine the scent of raw cotton canvas hitting your senses; it is earthy, slightly sweet, and carries the promise of structural integrity. When you run your thumb across a heavy twelve ounce duck cloth, you feel the interlacing warp and weft fighting back against your touch. This is the foundation of high quality Handmade Tote Bags. We are not just making a sack for groceries; we are engineering a vessel capable of defying gravity and resisting the abrasive forces of daily life. You can feel the potential energy stored in a fresh bolt of fabric. It is crisp, unyielding, and ready to be transformed through the physics of tension and friction. Every fiber has a tensile strength that determines how many pounds of books or farmers market produce it can carry before the microscopic bonds begin to shear. As we prepare to cut into this material, remember that we are masters of geometry and mechanics. We are aligning grain lines to ensure that the vertical pull of a heavy load is met with the maximum resistance of the loom's tightest weave. It is a tactile dance between the soft hand of the textile and the cold, hard precision of our steel tools.
THE STUDIO KIT
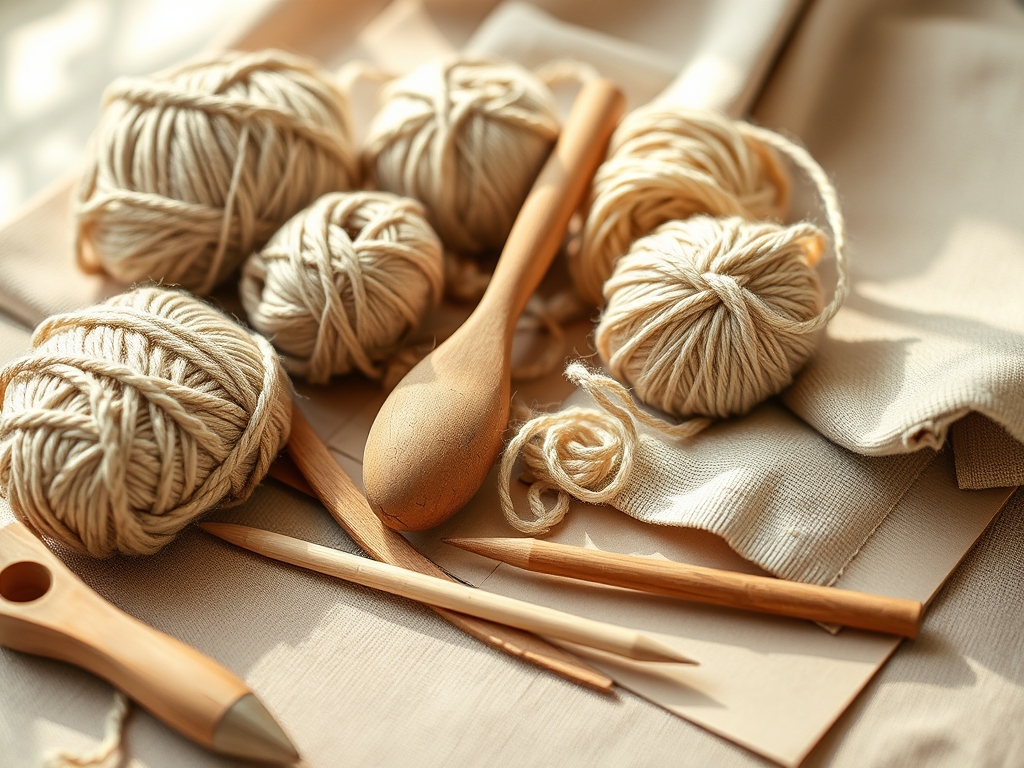
To achieve professional results, your workstation must resemble a laboratory of tactile precision. You will need a rotary cutter with a tungsten carbide blade to ensure clean, molecular level edges that do not fray during the assembly process. A heavy acrylic ruler acts as your stabilizer, providing the necessary downward pressure to prevent fabric shift. For marking, skip the chalk and use a fine point heat erasable pen; this allows for surgical accuracy without leaving permanent chemical residue on the fibers. Your needle selection is paramount. A size 100/16 denim needle is required to pierce through multiple layers of dense canvas without snapping or overheating due to friction.
Material Substitutions: If you cannot source traditional cotton duck, look for recycled polyester canvas. It offers a higher hydrophobic rating, making your bag naturally water resistant. For straps, if heavy cotton webbing is unavailable, seatbelt webbing provides an incredible breaking strength and a sleek, low friction surface that feels ergonomic against the shoulder. Always check the ply count of your thread; a bonded nylon thread is a superior substitute for standard polyester when you need maximum seam security against bursting pressures.
THE TEMPO
The creation of Handmade Tote Bags follows a specific Maker's Rhythm, a cadence of preparation, execution, and refinement. Phase one is the Architectural Cut, taking approximately 20 minutes. This is where you calculate seam allowances with the precision of a machinist. Phase two is the Structural Prep, lasting 15 minutes, where you use a bone folder to crisp your hems, utilizing mechanical pressure to collapse the air pockets between fibers.
The Primary Assembly phase takes roughly 45 minutes. This is the heart of the project where the machine hums at a steady RPM, maintaining a consistent stitch frequency. Finally, the Finishing Pass takes 10 minutes. This involves trimming loose filaments and heat setting your seams. Total active production time is approximately 90 minutes. This tempo allows the maker to maintain focus without succumbing to cognitive fatigue, ensuring that the final stitch is just as precise as the first.
THE CORE METHOD
1. The Reinforced Backstitch
This is your anchor. By reversing the machine over the initial three stitches, you create a mechanical lock. This doubles the thread density at the point of highest stress.
Mastery Tip: This technique utilizes frictional interference. By layering the thread, you increase the surface area contact between the fibers, making it mathematically improbable for the seam to unravel under load.
2. The Flat Fell Seam
Fold one edge over the other and topstitch it down. This hides raw edges and creates a four layer thick structural rib.
Mastery Tip: This seam increases the moment of inertia of the fabric panel. It acts like a structural beam in a building, preventing the bag from collapsing into a shapeless heap when empty.
3. The Box Stitch Square
When attaching handles, sew a square with an "X" through the center. This distributes the weight across a larger surface area of the canvas.
Mastery Tip: This utilizes load distribution physics. Instead of the weight hanging on a single line of thread, the "X" transfers the downward force diagonally across the warp and weft, preventing localized fiber failure.
4. The French Seam
By sewing a narrow seam on the right side, trimming, and then sewing again on the wrong side, you encase the raw edge completely.
Mastery Tip: This creates a double walled barrier. It protects the delicate cut ends of the fabric from abrasion, essentially "self-healing" the most vulnerable part of the bag through clever geometry.
5. The Triple Stitched Bottom
Run three parallel rows of stitching along the base of the bag where the weight sits heaviest.
Mastery Tip: This is an exercise in redundancy engineering. If one thread is compromised by a sharp object inside the bag, the remaining two rows maintain the structural integrity of the vessel.
6. The Overlock Edge Finish
Use a zigzag or overlock stitch on every raw interior edge to bind the loose yarns.
Mastery Tip: This prevents capillary fraying. By binding the edge, you stop the mechanical vibration of daily use from slowly unweaving the fabric from the outside in.
7. The Bound Neckline
Wrap a separate strip of fabric around the top opening and stitch it through all layers.
Mastery Tip: This provides circumferential tension. It keeps the mouth of the bag from stretching out of shape, much like a hoop keeps a barrel tight and functional.
8. The Bar Tack
A series of very tight, narrow zigzag stitches placed at the top corners of the pockets or handle joins.
Mastery Tip: This provides shear resistance. Bar tacks are used in climbing harnesses because they concentrate a massive amount of thread in a small area to stop a "zipper effect" tear before it starts.
THE TECHNICAL LEDGER
Maintenance & Longevity: To preserve the polymer bonds in your thread, wash your tote in cold water and air dry. High heat in a dryer can cause thermal shrinkage, leading to puckered seams and weakened structural points.
Material Variations: For a premium version, use waxed canvas. The paraffin infusion creates a non-porous barrier that develops a beautiful patina over time. For a sustainable approach, use hemp canvas, which has a higher tensile strength-to-weight ratio than standard cotton.
The Correction:
- Puckered Seams: This is caused by high thread tension. Loosen your top tension dial by one increment to allow the fabric to lay flat.
- Skipped Stitches: Usually a result of a blunt needle. The tip is deflecting off the heavy fibers rather than piercing them. Replace the needle immediately.
- Bird Nesting: Thread is bunching under the fabric. This is a threading path error. Re-thread the machine with the presser foot up to ensure the thread seats in the tension disks.
Studio Organization: Store your canvas flat or on rolls rather than folded. Permanent creases can cause fiber fatigue, creating weak lines where the material may eventually crack or fail under stress.
THE FINAL REVEAL
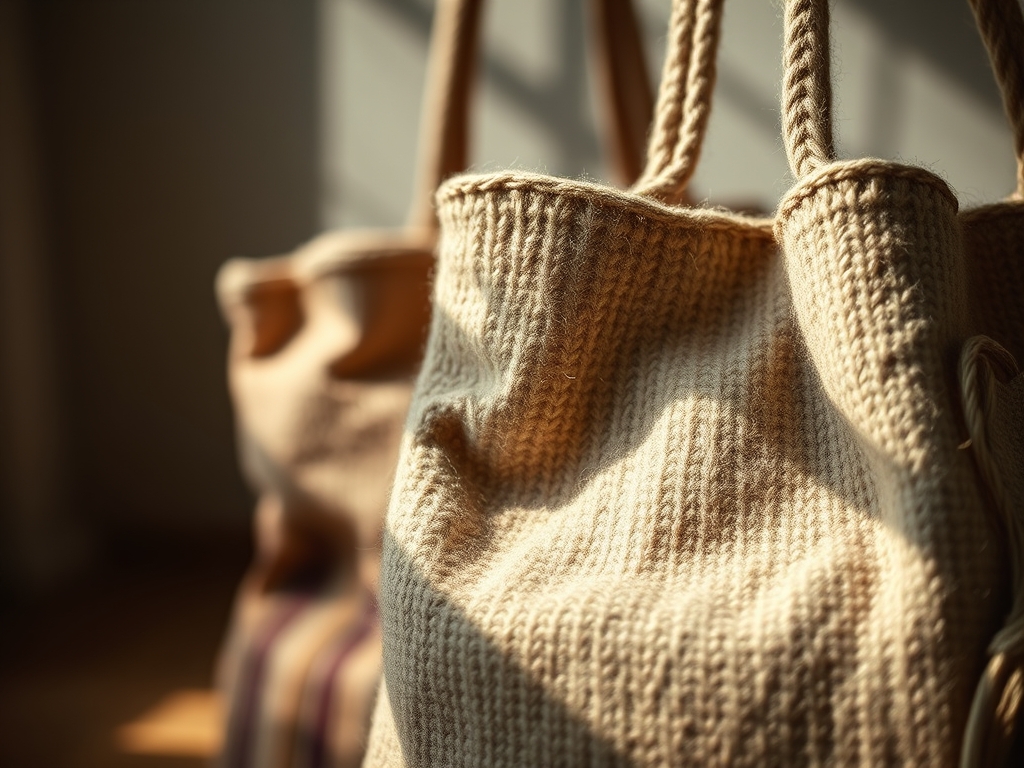
Look at that masterpiece! Your Handmade Tote Bags are no longer just concepts; they are rugged, engineered tools ready for the world. The way the light catches the burnished edges and the rhythmic precision of the topstitching proves your mastery over the material. You have successfully navigated the physics of tension, the chemistry of fibers, and the geometry of construction. This bag is balanced, beautiful, and built to withstand the chaotic entropy of daily errands. It feels substantial in the hand, a testament to your technical skill and creative vision.
STUDIO QUESTIONS
Why is my thread snapping on heavy canvas?
Your needle is likely too small, causing frictional heat to melt or shear the thread. Switch to a larger gauge needle (size 16 or 18) to create a larger hole for the thread to pass through freely.
How do I stop my bag from looking "homemade"?
Focus on seam allowance consistency. Use a seam guide or a piece of painter's tape on your machine bed to ensure every line of stitching is perfectly parallel to the fabric edge for a professional finish.
Can I use a regular sewing machine for canvas?
Yes, but you must respect the motor limits. Use a walking foot attachment to provide even feed pressure on both the top and bottom layers, preventing the layers from shifting during the stitching process.
What is the best thread for daily use totes?
Bonded polyester or nylon thread is superior. These threads are treated with a coating that prevents fraying and provides high UV resistance, ensuring your stitches do not degrade when exposed to sunlight during outdoor errands.
Why should I pre-wash my canvas?
Pre-washing removes sizing chemicals and triggers initial shrinkage. This ensures that the bag you sew today maintains its exact dimensions and structural geometry after its first encounter with a washing machine.