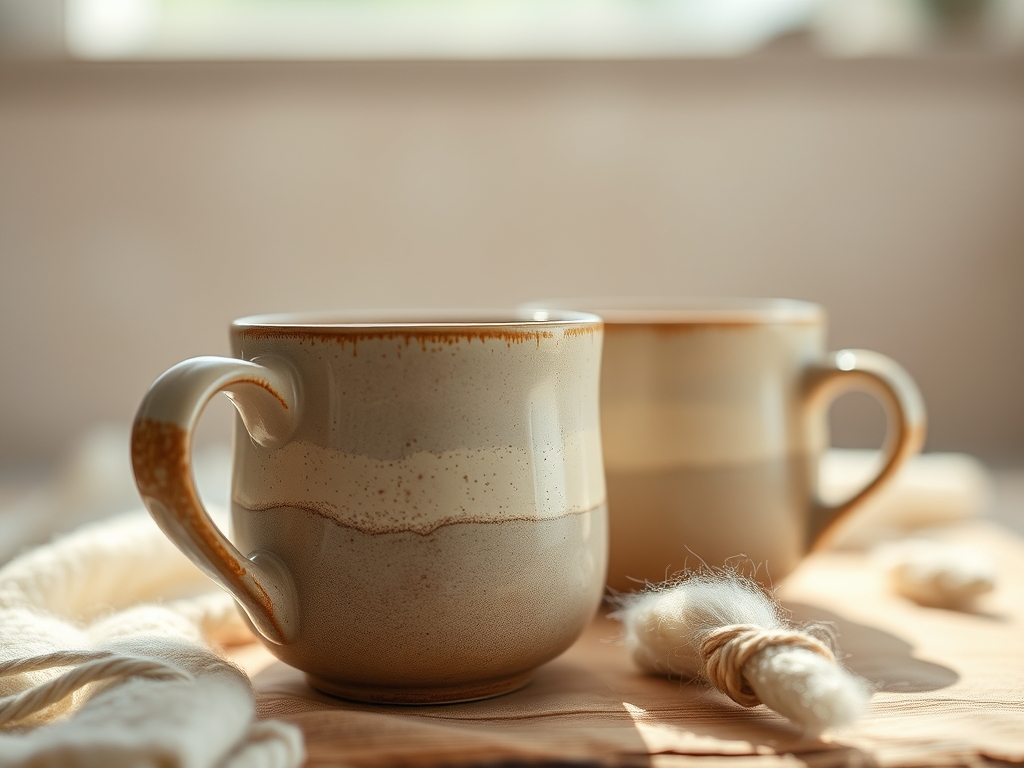
Close your eyes and imagine the satisfying, heavy drape of premium flax resting against your palm. There is a specific, grounding weight to linen that paper could never emulate. When you create your own handmade cloth napkins, you are not just sewing; you are engineering a tactile experience for your dining table. Linen possesses a unique cellular structure consisting of polygonal fibers that allow for incredible moisture absorption and rapid drying. It is the ultimate material for the kitchen because it is naturally hypoallergenic and gets softer with every single wash. We are going to dive deep into the physics of the weave today. We will explore how the tensile strength of the flax plant translates into a durable, elegant tool for your daily life. Whether you are hosting a high-stakes dinner party or just eating toast on a Tuesday, these napkins change the energy of the room. Grab your coffee and let us get into the grit of the grain.
THE STUDIO KIT
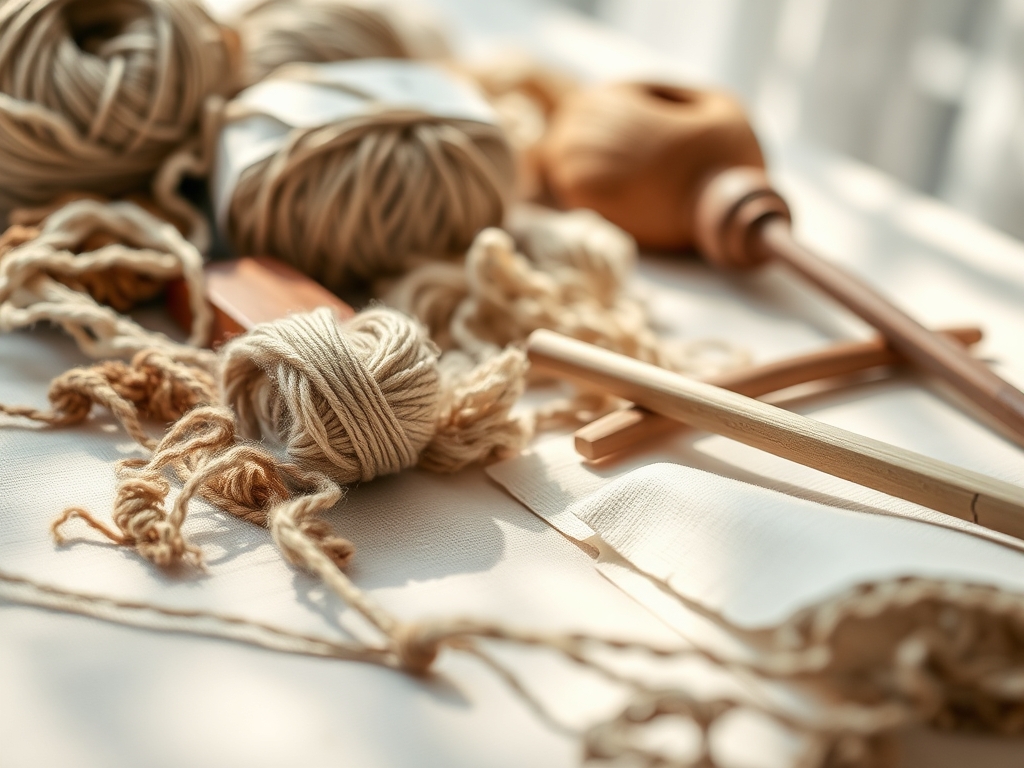
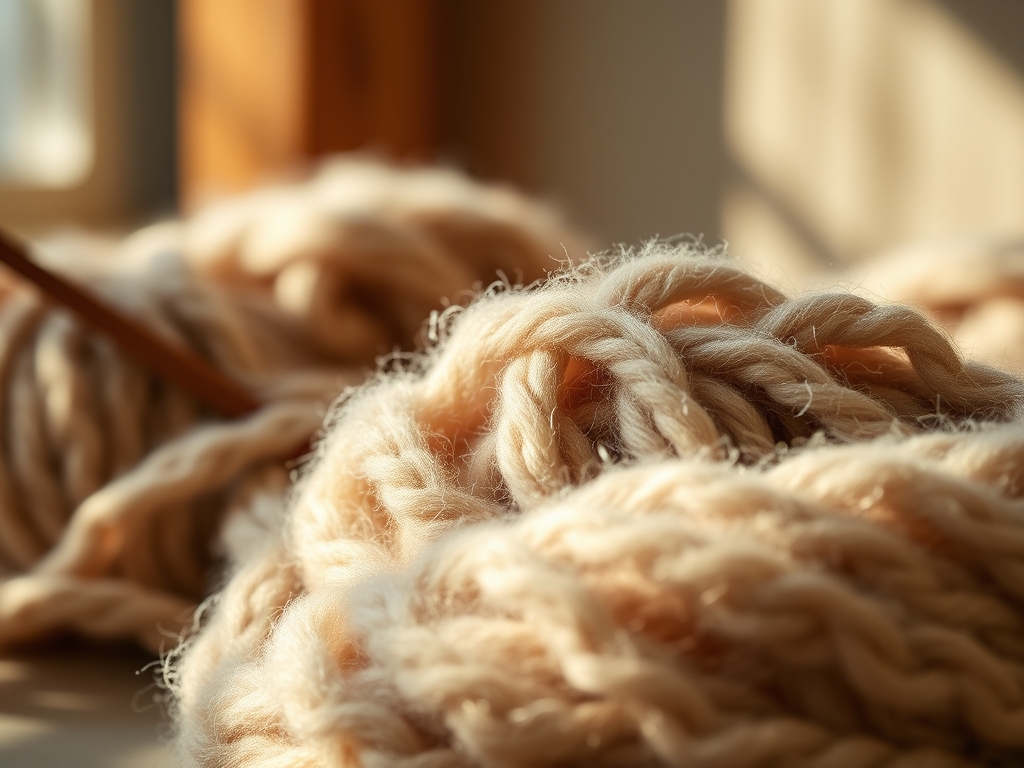
To master the art of handmade cloth napkins, you need tools that respect the integrity of the fiber. First, you must source a high-quality mid-weight linen, ideally around 5.3 to 7 ounces per square yard. This weight provides the perfect balance of tensile strength and soft hand-feel. You will also need a rotary cutter with a fresh 45mm tungsten steel blade to ensure clean, square edges that do not fray prematurely. A self-healing cutting mat with a precise grid is non-negotiable for maintaining geometric accuracy.
For the finishing touches, a bone folder is your secret weapon; it allows you to burnish your folds, creating a crisp, professional crease without scorching the delicate cellulose fibers. You will also need a 6-inch metal sewing gauge to measure your hems with mathematical precision. If you cannot find pure linen, a hemp blend is an excellent material substitution. Hemp offers even higher durability and a similar porous structure, though it may require more initial washes to break down the lignin and achieve peak softness. Avoid synthetic polyesters, as they lack the capillary action required to actually absorb spills.
THE TEMPO
The "Maker's Rhythm" is all about honoring the material. You cannot rush a high-quality hem. Expect to spend approximately fifteen minutes on the preparation phase, which includes pre-washing and ironing to account for the shrinkage factor of natural fibers. Linen can shrink up to ten percent on its first encounter with hot water. The cutting phase takes about ten minutes for a set of four, provided you are using a sharp rotary blade. Finally, the assembly phase, where the actual stitching happens, will take roughly fifteen minutes per napkin. Total project time for a full set of nine designs is about three hours. This tempo allows you to focus on the ergonomic flow of your movements, ensuring that every stitch is placed with intentionality and precision.
THE CORE METHOD
1. The Pre-Shrink Ritual
Before you even touch your shears, you must submerge your fabric in the temperature it will live in. This stabilizes the molecular bonds of the flax fibers. If you skip this, your perfectly square napkins will morph into trapezoids after the first wash. Once dry, iron the fabric while it is still slightly damp to relax the hydrogen bonds in the cellulose, ensuring a perfectly flat surface for cutting.
Mastery Tip: This process utilizes hydrothermal stabilization. By exposing the fibers to heat and moisture simultaneously, you are forcing the internal stresses of the weave to neutralize before you apply a permanent stitch.
2. Squaring the Grain
Linen is a woven fabric, meaning it has a warp and a weft. To ensure your handmade cloth napkins hang correctly, you must find the straight grain. Use your acrylic ruler to align with a single thread. For a truly professional finish, pull one horizontal thread all the way across the width; this creates a visible "path" for your rotary cutter to follow.
Mastery Tip: Aligning with the grain prevents fabric torque. If you cut off-grain, the napkin will twist diagonally when laundered because the tension in the diagonal threads (the bias) is different from the straight threads.
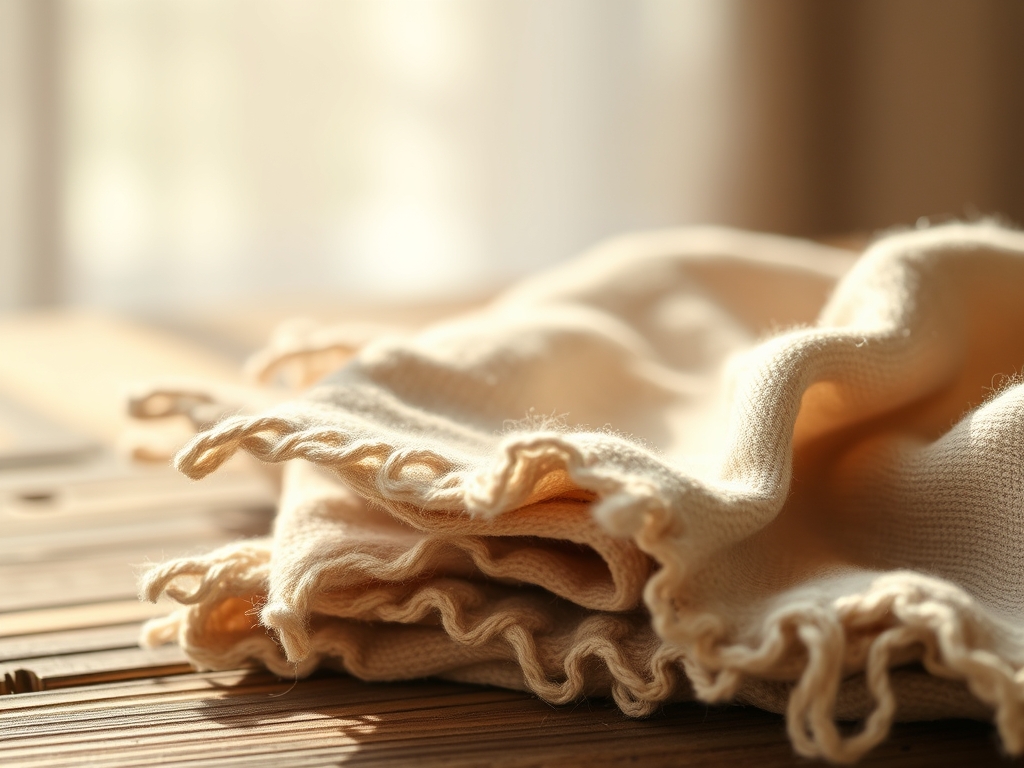
3. The Precision Miter
Fold your edges inward by half an inch, then another half inch, using your bone folder to burnish the crease. To create a mitered corner, unfold the corner and fold the tip inward so the crease lines intersect perfectly. This removes the bulk density at the corners, allowing your sewing machine needle to glide through without skipping stitches.
Mastery Tip: Reducing bulk at the corners maintains the structural integrity of the hem. Excess layers of fabric can cause the needle to deflect, resulting in uneven tension and potential thread breakage.
4. The Topstitch Finish
Set your machine to a stitch length of 3.0mm. This longer stitch length is more aesthetically pleasing on linen and accommodates the thickness of the ply. Sew slowly, maintaining a consistent distance from the edge. Backstitch only at the very beginning and end to lock the threads against the frictional force of daily use.
Mastery Tip: A longer stitch length prevents "puckering." Because linen has a relatively large fiber diameter, short stitches can crowd the weave and cause the fabric to bunch up along the seam line.
THE TECHNICAL LEDGER
Maintenance & Longevity
To preserve the tactile quality of your linen, wash in cool to lukewarm water. Avoid chlorine bleach, which oxidizes the fibers and leads to brittleness. Tumble dry on low heat to maintain the elastic recovery of the flax, or better yet, line dry to let the UV rays naturally sanitize the surface.
Material Variations
- Sustainable: Organic GOTS-certified linen uses zero pesticides.
- Recycled: Look for "deadstock" linen from upholstery houses.
- Premium: Belgian or Irish linen offers the longest staple length, resulting in fewer pills and a smoother finish.
The Correction
- The Mistake: Wavy hems. The Fix: Increase your presser foot pressure or use a walking foot to ensure even feeding of the top and bottom layers.
- The Mistake: Fraying corners. The Fix: Use a tiny drop of fray-check or ensure your mitered tuck is deep enough to capture all raw edges.
- The Mistake: Thread bunching (bird-nesting). The Fix: Re-thread the machine with the presser foot UP to ensure the thread seats correctly in the tension discs.
Studio Organization
Store your linen flat or rolled on acid-free cardboard tubes to prevent permanent crease degradation. Avoid plastic bins, as natural fibers need to breathe to prevent the growth of mildew or "foxing" spots caused by trapped moisture.
THE FINAL REVEAL
There is nothing quite like the sight of nine perfectly coordinated handmade cloth napkins stacked in your studio. The way the light catches the slubs in the linen weave creates a visual depth that mass-produced items simply cannot replicate. You have taken raw, prehistoric fibers and engineered them into functional art. These napkins are now ready to absorb the spills of a celebratory wine or the crumbs of a quiet breakfast. They feel substantial, sophisticated, and incredibly smart. You didn't just make a kitchen accessory; you mastered the physics of the fold.
STUDIO QUESTIONS
Why is linen better than cotton for napkins?
Linen has a higher moisture-wicking capacity and greater durability. Its fibers are longer and stronger than cotton, meaning it will not pill and actually becomes more absorbent and softer with every wash cycle over several decades.
Do I really need to miter the corners?
Yes. Mitering reduces the material density at the corners. Without it, you would be sewing through four or more layers of linen, which creates a bulky, unsightly lump that is difficult for most home sewing machines to penetrate cleanly.
What thread should I use for linen?
Use a high-quality polyester or mercerized cotton thread in a 40-weight or 50-weight. Polyester offers better tensile strength and resistance to breakage, while mercerized cotton provides a beautiful matte finish that blends seamlessly with the natural flax fibers.
How do I get red wine out of linen?
Because linen is highly porous, you must act fast. Blot the spill immediately to utilize capillary action. Apply club soda or a salt slurry to lift the pigment from the fibers before it sets into the cellulose matrix.