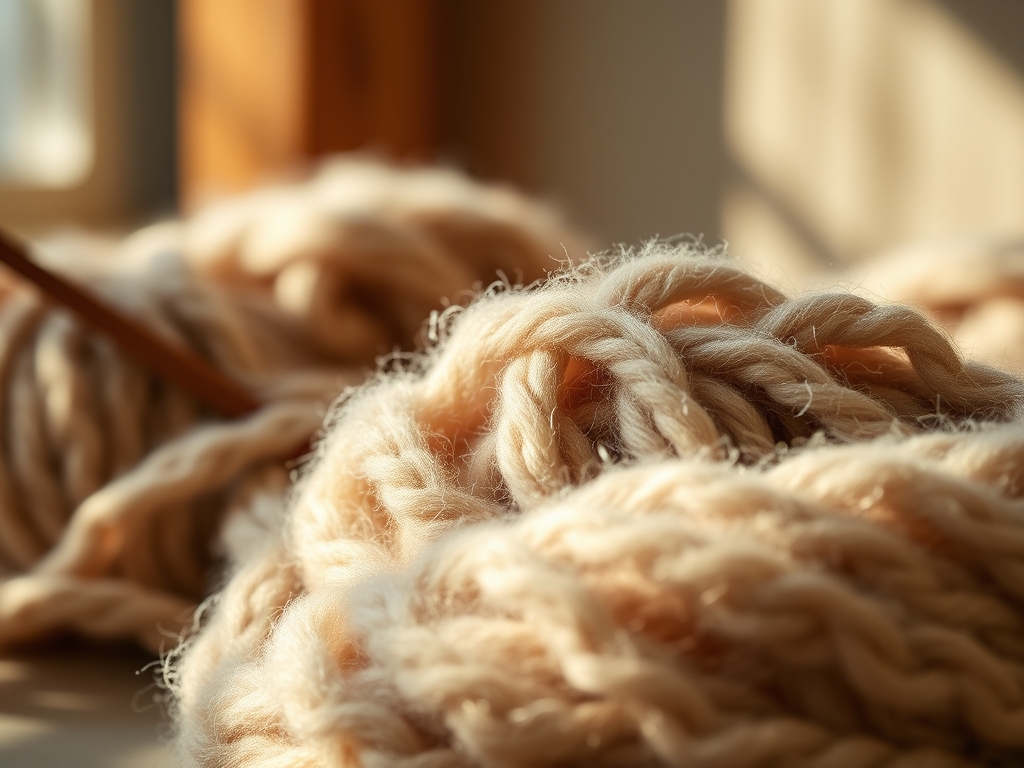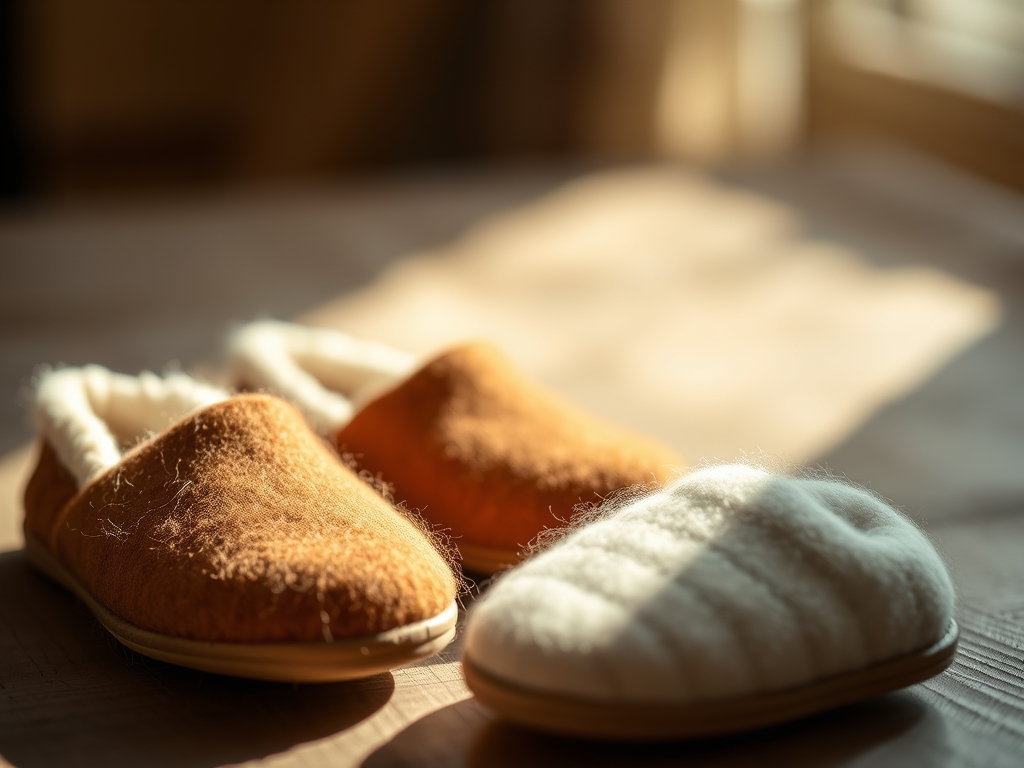
Imagine the sharp, cold bite of a hardwood floor meeting your bare heels at six in the morning. Now, replace that jarring shock with the dense, architectural warmth of wool. We are talking about the ultimate winter upgrade: Handmade Felt Slippers. This is not just a craft project; it is a lesson in structural engineering and thermal regulation. When you press your thumb into high-density wool felt, you are feeling the interlocking microscopic scales of protein fibers. These fibers create a labyrinth of air pockets that trap heat while allowing moisture to escape through capillary action. It is the perfect marriage of biology and comfort. We are going to build five distinct silhouettes today, ranging from sleek Scandinavian mules to high-top booties that hug the ankle. Grab your coffee and clear your workbench. We are about to transform raw, tactile materials into a masterpiece of domestic utility. This process requires precision, a bit of muscle, and an appreciation for the physics of non-woven textiles.
THE STUDIO KIT
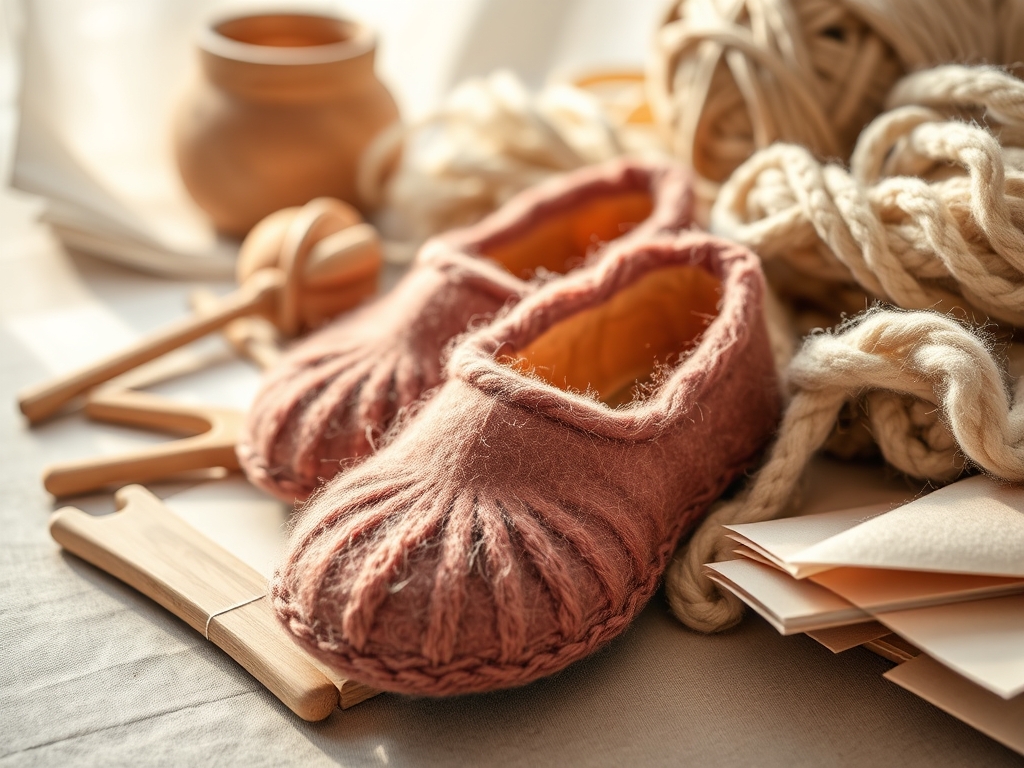
To execute professional-grade **Handmade Felt Slippers**, you cannot rely on flimsy craft store scraps. You need 100 percent wool felt with a thickness of at least 3mm to 5mm. This thickness provides the necessary **tensile strength** to withstand the constant friction of walking. Your primary cutting tool should be a 45mm **rotary cutter** paired with a self-healing mat to ensure clean, vertical edges without the fraying caused by dull shears. For the assembly, a heavy-duty **stitching awl** is non-negotiable for piercing the dense layers. You will also need waxed polyester thread, which offers superior glide and won’t rot like cotton. If you are looking for **Material Substitutions**, industrial synthetic felt can work for the sole, but it lacks the breathability of natural wool. For a premium touch, swap the base for a vegetable-tanned leather sole. Use a **bone folder** to crisp your seams and **calipers** to ensure your seam allowances are consistent to the millimeter.
THE TEMPO
The "Maker's Rhythm" is about respecting the material's resistance. Expect to spend approximately four to six hours per pair. The first hour is dedicated to the Drafting Phase, where you map the 2D pattern onto the 3D geometry of your foot. The Cutting Phase takes thirty minutes; it requires a steady hand and high downward pressure to slice through the felt's dense matrix. The Assembly Phase is the longest block, roughly three hours of rhythmic stitching. Do not rush the needlework. If you force the awl, you risk tearing the fiber structure. Instead, find a cadence where each puncture is a deliberate, controlled action. This slow pace allows the wool to settle into its new shape without internal stress.
THE CORE METHOD
1. Geometric Pattern Drafting
Start by tracing the perimeter of your foot onto heavy cardstock. Add a 10mm margin to account for the material displacement that occurs when the felt wraps around the curve of the heel. Use your calipers to measure the height of your instep.
Mastery Tip: Always align your pattern with the grain direction if using a woven blend, but for true felt, focus on fiber density distribution to ensure the toe box does not collapse under tension.
2. Precision Component Extraction
Lay your felt flat and secure the pattern with weights rather than pins to avoid permanent punctures. Use the rotary cutter in one continuous motion. A jagged edge creates a weak point where the seam can eventually fail.
Mastery Tip: The physics of a clean cut involves minimizing lateral friction. A sharp blade shears the protein bonds cleanly, preserving the structural integrity of the edge for a flush butt-joint.
3. The Structural Awl Puncture
Mark your stitch holes at 6mm intervals using a tracing wheel. Use your stitching awl to create pilot holes. This prevents the needle from dragging and distorting the felt's porous structure.
Mastery Tip: Use a "diamond point" awl. The shape of the hole allows the thread to sit recessed within the felt, protecting it from surface abrasion and extending the life of the slipper.
4. Saddle Stitch Integration
Thread two needles on a single length of waxed cord. Pass them through the same hole from opposite sides. This creates a locking mechanism that will not unravel even if one stitch is severed.
Mastery Tip: Maintain consistent tensioning force. If you pull too tight, the felt will pucker; too loose, and the slipper will lose its ergonomic form over time.
5. Edge Burnishing and Finishing
Once stitched, use a bone folder or a smooth wooden dowel to rub the seams. This friction generates heat, which slightly "felts" the cut edges together, creating a seamless, professional look.
Mastery Tip: Applying a small amount of beeswax to the edges before burnishing creates a water-resistant seal through surface tension, preventing the fibers from splaying during heavy use.
THE TECHNICAL LEDGER
Maintaining your Handmade Felt Slippers is a matter of biology. Wool is self-cleaning to an extent due to lanolin, but it should never be submerged in hot water, as this triggers uncontrolled felting shrinkage. Use a stiff brush to remove surface debris. For Material Variations, consider a cork insert for archival-level arch support or a recycled rubber outsole for outdoor versatility.
The Correction: Technical Fixes
- The Gap: If your heel slips, add a "heel counter" strip of 2mm felt inside the back to increase friction.
- The Pucker: If the toe box bunches, your seam allowance was too wide. Trim 2mm from the edge and re-stitch using a tighter gauge.
- The Thinning Sole: If the bottom wears down, do not toss them. Burnish a new leather patch over the high-wear area using a contact cement rated for porous materials.
Studio Organization
Store your felt sheets flat in a climate-controlled environment. Humidity causes wool to expand, which can throw off your caliper measurements by several percentage points. Keep your tools oiled to prevent oxidation on the awl and blades.
THE FINAL REVEAL
When you slide your feet into these completed slippers, the sensation is transformative. There is a specific "thunk" of quality as the dense wool encapsulates your foot. The silhouette is crisp, the stitches are rhythmic, and the thermal payoff is immediate. You have bypassed the disposable culture of cheap fleece and created a piece of functional art that respects the laws of physics. These slippers are not just cozy; they are a testament to your precision as a maker.
STUDIO QUESTIONS
What is the best wool weight for slippers?
Use a minimum of 3mm wool felt. This thickness provides the compressive strength required to support body weight while maintaining the slipper's shape over months of daily wear and friction.
Can I use a sewing machine?
Most domestic machines cannot penetrate 5mm felt without timing issues. A heavy-duty industrial machine works, but hand-stitching with an awl ensures superior tensile durability and a more precise finish.
How do I stop the slippers from being slippery?
Apply small dots of clear silicone or stitch a suede patch to the sole. This increases the coefficient of friction between the wool and smooth flooring, preventing accidental slips.
Why does my felt look fuzzy after a week?
This is called pilling. It occurs when loose fibers migrate to the surface. Use a fabric shaver or a sharp razor to trim the pills, then lightly burnish the area to re-compress the fibers.
How do I size the pattern correctly?
Measure your foot while wearing the socks you intend to use. Add 10mm for length and 5mm for width to account for the material displacement of the thick felt walls.